The time came when my 1TB drives were full, having a data clearout reclaimed a bit of free space but it was time to upgrade.
The HP Microserver I am running has four HDD bays all populated with 1TB drives in RAID 1 configuration, so to increase capacity I had to replace two of the disks. I went for two Western Digital Green 2TB disks as the 1TB variants I currently had proved reliable.
Moving the data over to a new disk would be tricky, the simplest solution would be to put the old drives into a USB caddy and plug into the server, but I had previously found that USB drives don’t like RAID. But since RAID1 means redundancy, I could tackle this another way…
Step1:
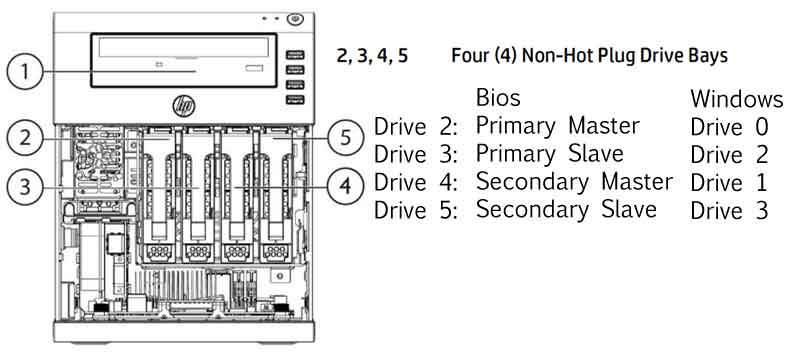
Know your hard drive configuration both in Windows and physically, the disks may have been installed for years and the order you installed them may be long forgotten. The HP Microserver is a compact unit so it’s impossible to follow the SATA cables from the drive to motherboard, so an online search did the trick.
Step2:
Knowing the hard drive layout, it’s time to break the RAID mirror by removing a disk and replacing with a larger one. Open the Computer Management window (Right click My Computer and choose Manage) then click Disk Management.

On this system I will be upgrading the volume labelled Data, therefore either Disk 2 or Disk 3 can be pulled out, after shutting the system down of course.
Step3:
After a restart to swap the drives Windows will detect the new blank drive, so a visit to the Disk Management console will greet you with this:
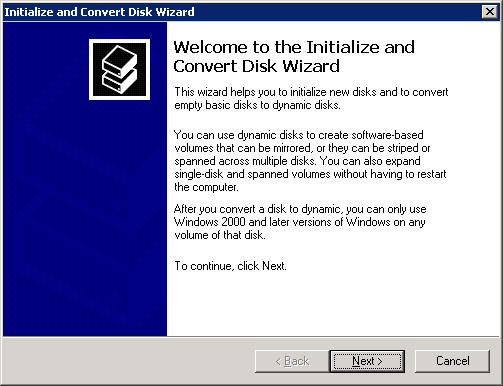
Follow the wizard to create a new BASIC partition, perform a quick format in NTFS, assign a drive letter, in this case I kept the label as New Volume.
Step 4:
Time to copy the data to a new drive, I prefer to use the xcopy command line as once run it does not interrupt and stop for user input such as copying system or read only files.
xcopy A: B: /s /c
Where A: represents the old data full drive, and B: the new empty one. Here the /s switch copies all sub-directories, the whole drive in the case of this command, and /c ignores errors that would interrupt the transfer.
The benefit is you can set it to run in the evening and it will copy unattended all night, great as it will take a while for a full 1TB drive.
Once completed its worth looking at the drive space to make sure it’s all transferred. At this size it may be a Gigabyte out but this is good enough.

Step 5:
Shut down and remove the final remaining old drive, and replace with the other new drive. Upon starting up again the Disk Management now looks a mess:
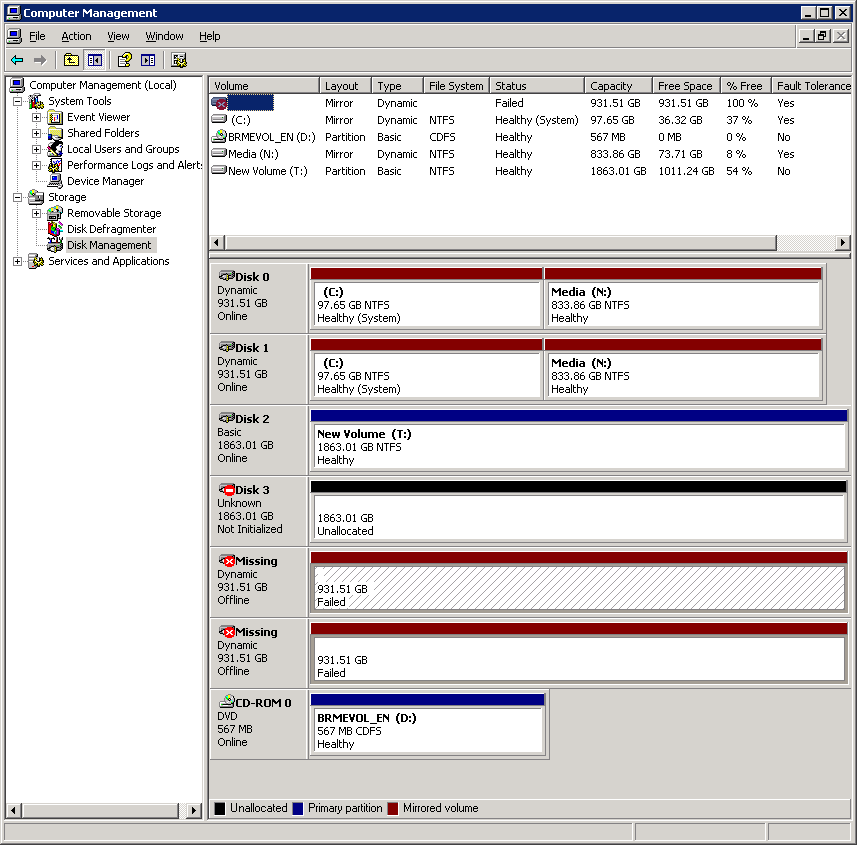
Not to fear, this requires a little housekeeping. Firstly remove the Missing drives that represent the drive you removed as the wont need to be represented on here anymore, right click on the missing drive’s volume and choose Delete Volume.
Then right click on the Missing drive icon and choose Delete Drive.
Repeat for the second missing volume and the old drives are no more.
Step 6:
Finally it’s time to mirror your new drives, this can be done the same as when your first mirror was set up. Right click the icon for the New Volume, choose Convert To Dynamic Disk
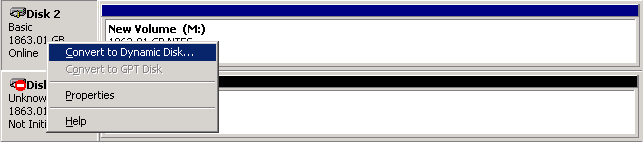
Then on the Simple Volume right click then Add Mirror, in the pop up dialog select the other new disk, identified as the one with all the Unallocated Space. Allow many hours for the mirror to rebuild and everything is back to normal, with added free space.
