A little treat when ordering the latest Raspberry Pi was to add a camera module to it, at a price of £7 for the Noir (Not French, just meaning No Infrared filter) it was easy to justify getting even if there was not a set purpose to it.
For the price the Pi Noir camera was generous on the specs, with a 2592 x 1944, 5 Megapixel sensor it seemed capable of capturing high detail images. However, the 5Mp tagline applies to still images only, with video capped at a still respectful 1920 x 1080p.
The difference between the Noir and standard camera module is the lack of an IR filter on the lens, resulting in some washed out colours in daylight but still acceptable in a surveillance capacity, but has the ability to capture images in darkness with help of separate Infrared lighting.
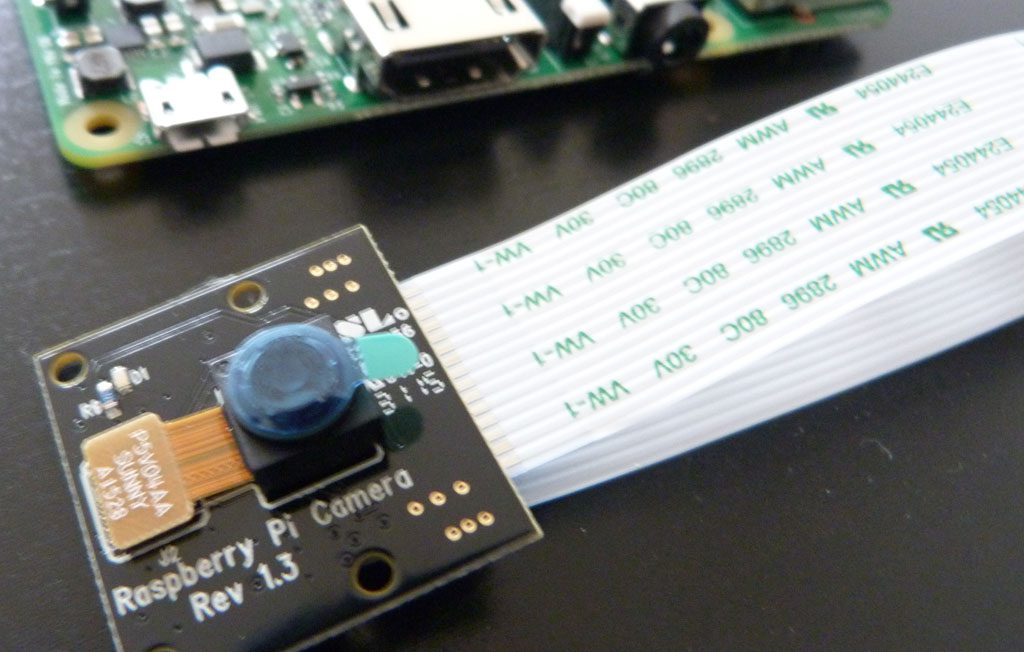
Using the camera module on the Pi is pretty straight forward, connecting is done via a ribbon cable plugged into a dedicated port on the Pi board.
Then the module needs to be enabled in raspi-config and after a reboot it’s good to go. A neat addition is that Debian Wheezy comes with two small applications that enables a user to test the camera module straight away, raspistill for stills and raspivid for video are both command line applications usable via SSH and have enough switches to satisfy most and usual features of the camera.
So what to do with the camera? Not wanting to stretch resources on the Pi as it’s already a server, the lightweight apps included with Debian can be manipulated for recording or time-lapse purposes, to keep resources down further the scheduling will be done via Cron, which gives the ability run scripts at certain intervals.
Setting Up Cron
Cron, or Crontab, comes installed on Debian Squeeze for Pi so it is ready to go, but as the program is designed to run scripts, one must be created first.
Connect to the Pi via SSH and in the default (home) folder, create a folder called scripts by using sudo mkdir scripts. Then navigate into the folder with cd scripts.
Create a new file called capture.sh, using sudo nano capture.sh
Enter the following lines into the new file:
#!/bin/sh
DATE=$(date +”%Y-%m-%d_%H%M”)
raspistill -o /media/storage/Camera/$DATE.jpg
This script sets DATE variable to read the system time in the format Year-Month-Date HoursMinutes, then the raspistill program is called with an output to a folder with DATE as the filename.
Ctrl + O to save the file and Ctrl + X to exit.
Then make the file executable so it can be used by using sudo chmod +x capture.sh.
With the script done its time to move to the cron folder and add a file that calls the capture.sh script.
Navigate to /etc/cron.d
Create a new file with sudo nano capture
Enter the following line:
* * * * * pi /home/james/scripts/capture.sh
The 5 asterisks determine when the script is run, in its current form the script will be run at the shortest possible interval which is each minute, but this can be changed to suit the user.
From left to right, each asterisk represents a value of time; minute (0-59), hour (0-23), date (1-31), month (1-12), day (0-6 where 0 is Sunday and 6 is Saturday). So as an example 0 0 1 * * means the script would run at midnight on the 1st of every month. And to run every hour, use 0 * * * *.
Again, Ctrl + O and Ctrl + X to save and exit, as soon as the file is saved the job is active and based on the system time will start on the next trigger point.
With the capture file in the cron folder, it will run the script at the set times until the file is deleted, that’s why it is a good idea to keep a copy of that file in a different location, so it can be easily copied to the cron folder when needed to run and deleted when no longer needed.