Something that I’ve noticed to be cropping up more recently is an issue where Office applications hang when a users attempt to print, failing at the Print Preview stage. When this occurs there seemingly is no return for the program and has to be closed from the Task Manager.
From the experiences I’ve had with this error there have been a few constants. All machines are running Windows 7 Pro 64bit with Office 2013 or later installed. Also a factor is the use of Konica Minolta Bizhub printers as the default device but after research this is less of a contributing factor.
While setting up a backup solution for my home network, I had an issue where my Windows Server 2012 R2 backup task would fail, with the following status:
“There is not enough disk space to create the volume shadow copy on the storage location. Make sure that, for all volumes to be backed up, the minimum required disk space for shadow copy creation is available. This applies to both the backup storage destination and the volumes included in the backup.
Minimum Requirement: For volumes less than 500 megabytes, the minimum is 50 megabytes of free space. For volumes more than 500 megabytes, the minimum is 320 megabytes of free space.
Recommended: At least 1 gigabyte of free disk space on each volume if volume size is more than 1 gigabyte.
Detailed error: Insufficient storage available to create either the shadow copy storage file or other shadow copy data.”
This doesn’t really explain the issue, as setting up a schedule with Windows Server Backup in 2012 involves the utility checking available storage before creating the backup task, and a manual check showed there was ample storage on the destination volume, with the source volume having 86% free space.
Delving into the Event Viewer for more detailed error message, I get this:
In a previous post I showed how to shutdown two servers safely using just one UPS with a single communications port. It was pretty straight forward with the comms port connected to a Windows Server 2003 machine.
But doing the same with Windows Server 2012 is much more difficult, since Microsoft decided to remove the ability to run a program on a low battery event from its power management settings. To make things worse I discovered that a bug in Server 2008 and later meant that issuing a Shutdown command from the native power settings would not perform a clean shut down, instead killing the power in a few seconds. This is not good news for RAID arrays and data integrity.
Time for a new solution, and since Microsoft are of no use, help would need to come from a 3rd party. After research and testing answer came from Shutter, a small program that runs as a trigger and event type program for a variety of different scenarios, with battery discharging status being one. Luckily two instances of the program could be run, one to shut down the remote servers and another for the host machine. Importantly the program can also be run as a Windows service, but more on this in the walk through. here is how it is done:
With the new server up and running it seemed fitting to connect it to my UPS, and thanks to the low power consumption of the HP Microservers I still get around 40 minutes of battery only time with both servers running before the UPS runs out of juice.
Unfortunately, the UPS in use only has one monitoring port which is connected to my original server, meaning during a spell of prolonged power outage, the new server will not know when to shut down safely and will continue to run until the UPS runs out of battery supply, leaving it vulnerable to data corruption that affected the original server prior to battery backup.
But with a simple script and some setup both servers can shut down safely before the batteries run out.
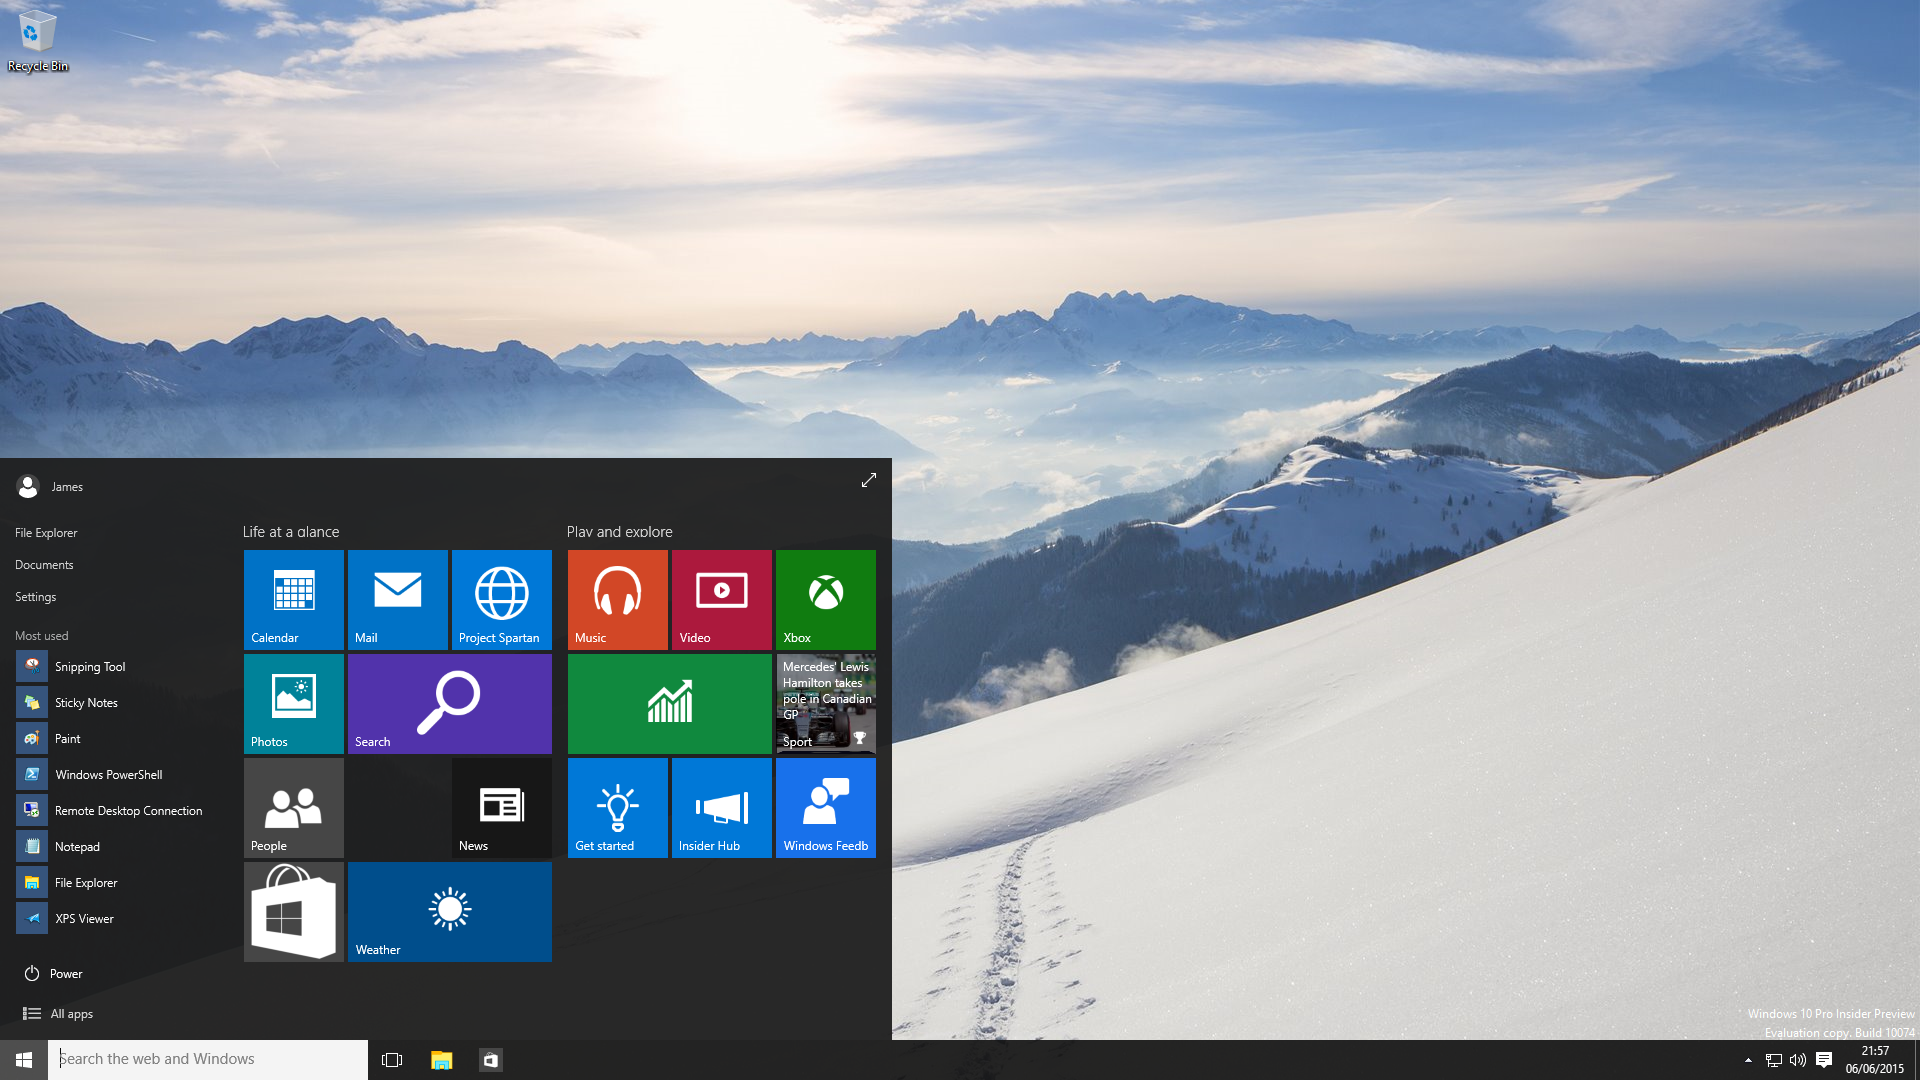
I just got my first hands on look at Windows 10, before I even start I must note that this is not going to be an in depth review of the system as I am just hopeless at writing reviews, so instead here are a quick few pointers of what I noticed.
The time came when my 1TB drives were full, having a data clearout reclaimed a bit of free space but it was time to upgrade.
The HP Microserver I am running has four HDD bays all populated with 1TB drives in RAID 1 configuration, so to increase capacity I had to replace two of the disks. I went for two Western Digital Green 2TB disks as the 1TB variants I currently had proved reliable.
Moving the data over to a new disk would be tricky, the simplest solution would be to put the old drives into a USB caddy and plug into the server, but I had previously found that USB drives don’t like RAID. But since RAID1 means redundancy, I could tackle this another way…
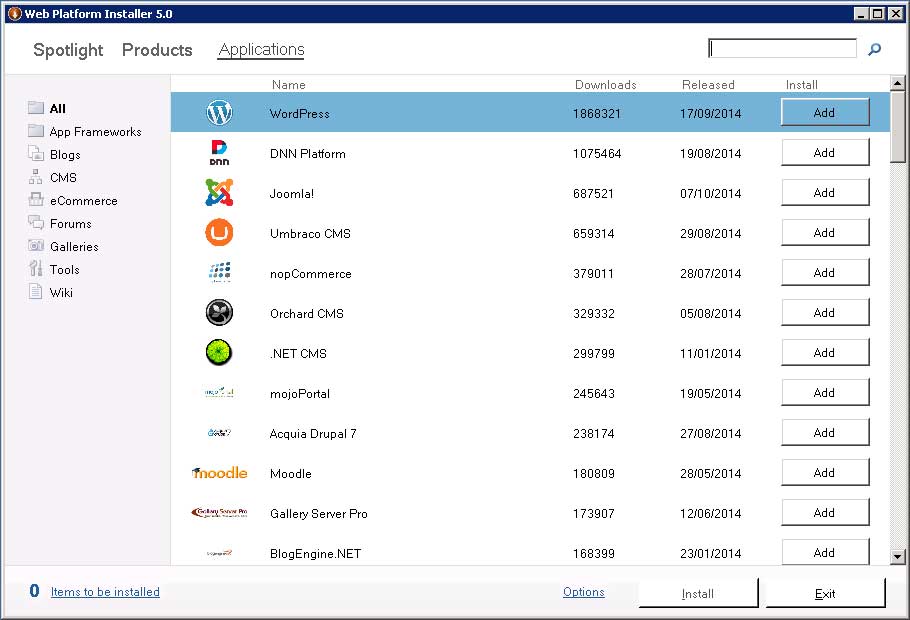
It’s simple, instead of the process of installing PHP, MySQL, assigning permissions and all the debugging that many of us have gone through, Microsoft has come up with WPI, or Web Platform Installer.
WPI makes installing WordPress easy.
Amongst other web applications, WordPress is the most popular and it makes the install on Windows as simple as a few clicks.
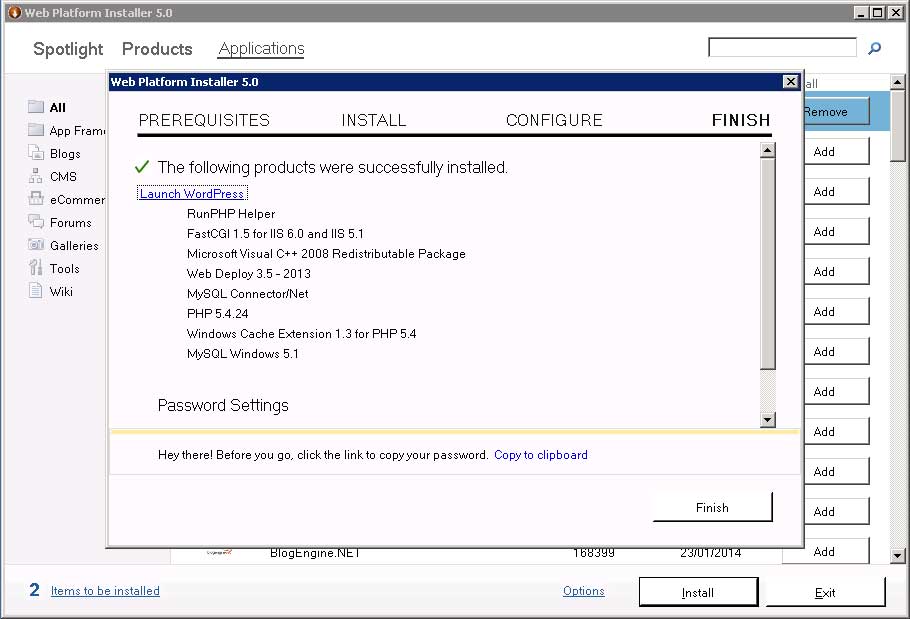
All done!
So far I’ve tried it on Server 2003 R2 and Server 2012 R2, both with instant success.
Connecting a printer to a server compared to a desktop system is not as straight forward as it may be perceived. Whether the manufacturers software simply refuses to install on Windows 2003 or insists on adding a load of bloatware on your system, here is how to get around it:
Step 1: Start by downloading the basic version of the drivers from the HP website, choose Windows XP drivers if there are none for Windows 2003
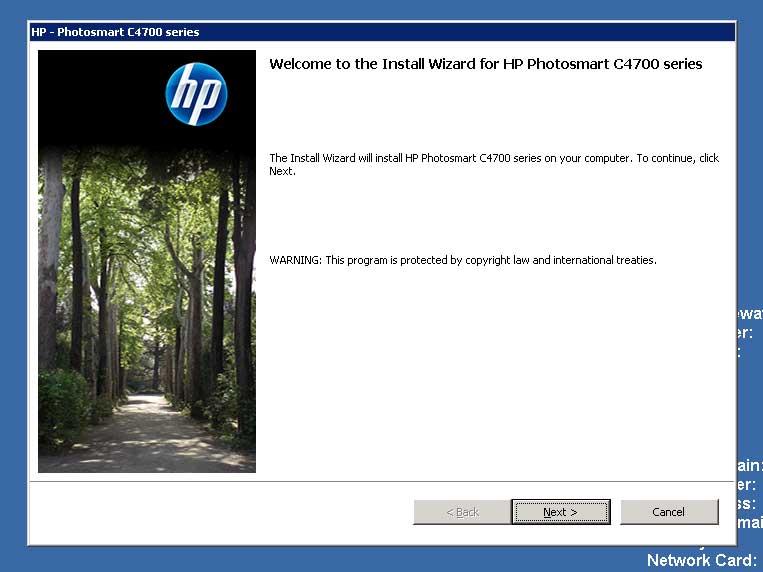
Step 2: Open the executable file, allow it to extract and display the first setup screen. Here, depending on the printer chosen it may let you continue with the setup, or stop the installation there telling you the operating system is not supported.
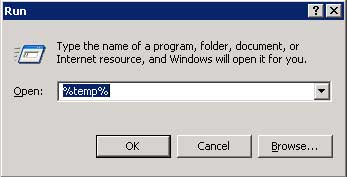
Whatever the installation screen displays, DO NOT CLOSE THE WINDOW, while its open all the files you need are made available. Next navigate to your temp folder. TIP: Go to Start Menu à Run, and type %temp%. This will bring up your temp files.
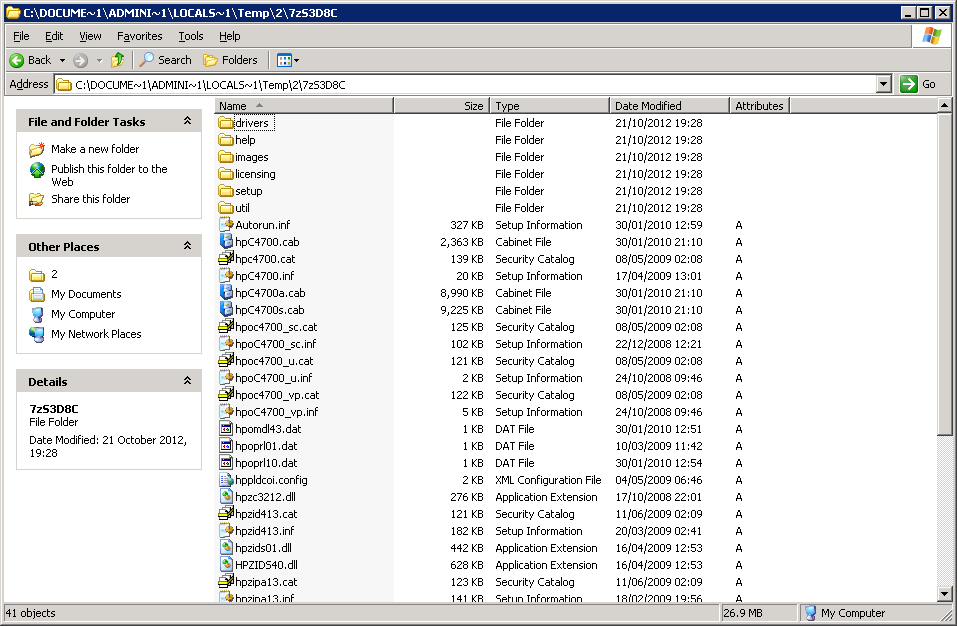
In the temp folder, look for a folder containing the setup files that were extracted as part of the installation, it will usually have .inf files that contain the printer model as part of the filename, below is an example of the drivers to install a HP C4700:
Look for references in the file names that match your printer’s
Step 3: At this point its best to copy (not move) the contents of the folder to a more convenient location. When a copy is made, you can close the installation utility as you have all the files in a new location.
Now navigate to Start > Settings > Printers and Faxes, and then start the Add new printer wizard.
After the intro splash, choose “Local printer attached to this computer” and un-check the box for “Automatically detect and install my Plug and Play printer”
Note: Step 4 is for installing a printer over a network, if you are connecting via USB, skip to step 5.
Step 4: Click next, on the next screen you will want to select “Create a new port” and choose “Standard TCP/IP port” from the drop-down menu, as below:
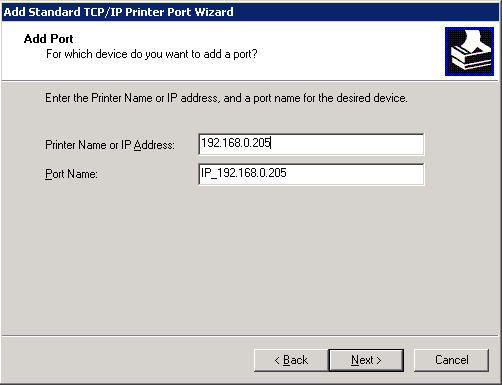
This brings up a new wizard, after the intro splash onto the add port screen, type the IP address of the printer:
NOTE: To save reconfiguration in the future, remember to set the printer to have a static IP address as you are not installing the program that find the printer on a dynamic IP address.
The next screen, leave the settings as a “Standard device type” and “Generic network card”. Clicking next brings you to printer software screen.
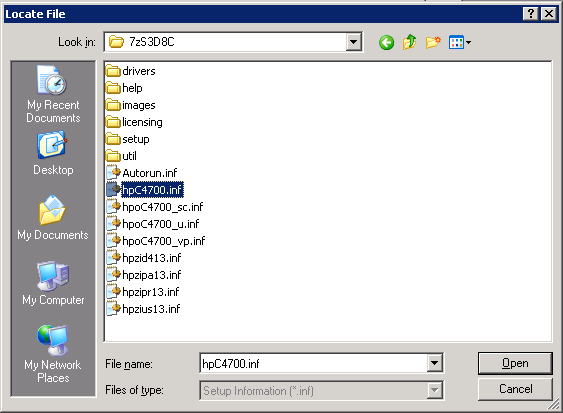
Step 5: Click the “Have Disk” button and navigate to the copy of the installation files.
Choose the most generic file name.
Only .inf files show, and you want to choose the most generic file name that is similar to your device, in this case above hpC4700.inf seems the most obvious.
If the right file has been chosen, you see your printer display as below.
If you get a warning message about a digital signature, choose “Continue Anyways”, but make sure you downloaded the drivers from a reputable site, such as the official HP website.
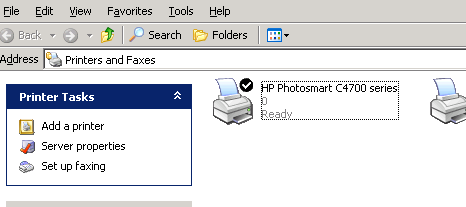
The installation wizards copies the files, then choose to print a test page to make sure all is well, and your HP printer appears in your printers folder.