Why To Check Your Log Files

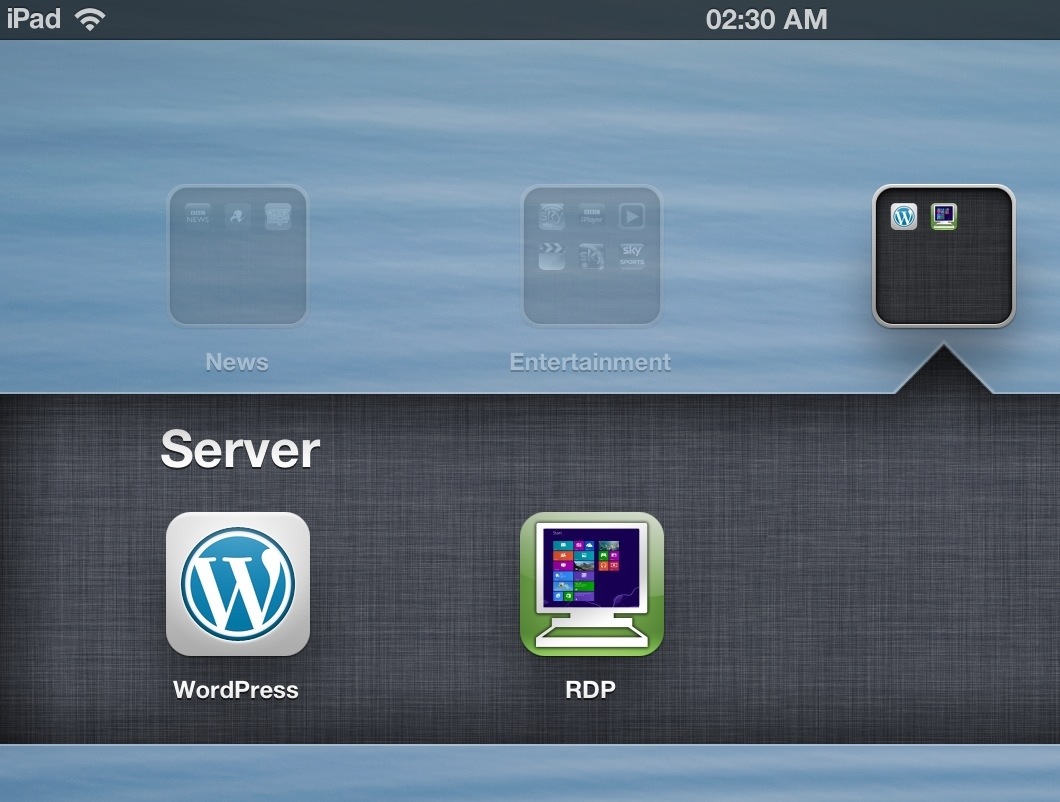
Since I run this blog from from my home web server, I have quick access to the web logs to see how my site is doing, I check this on an infrequent basis but always revisit them to see who/what is looking at my site.

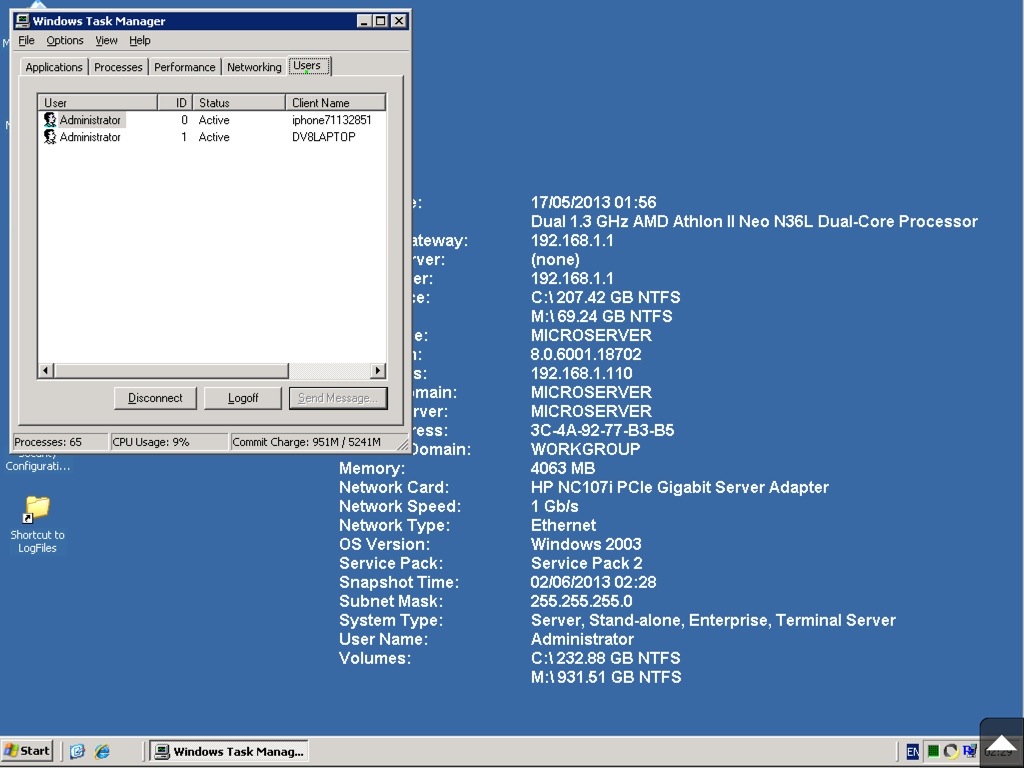
My normal routine is to simply look at the log folder to see the file size of the daily logs, I’m used to seeing spikes in my traffic, caused by bots trying to guess my WordPress admin password, however on 20th December the file size was abnormally high, a look at the log shows a barrage of requests for only one image file:

Many IPs with different meta data all wanting the same file.

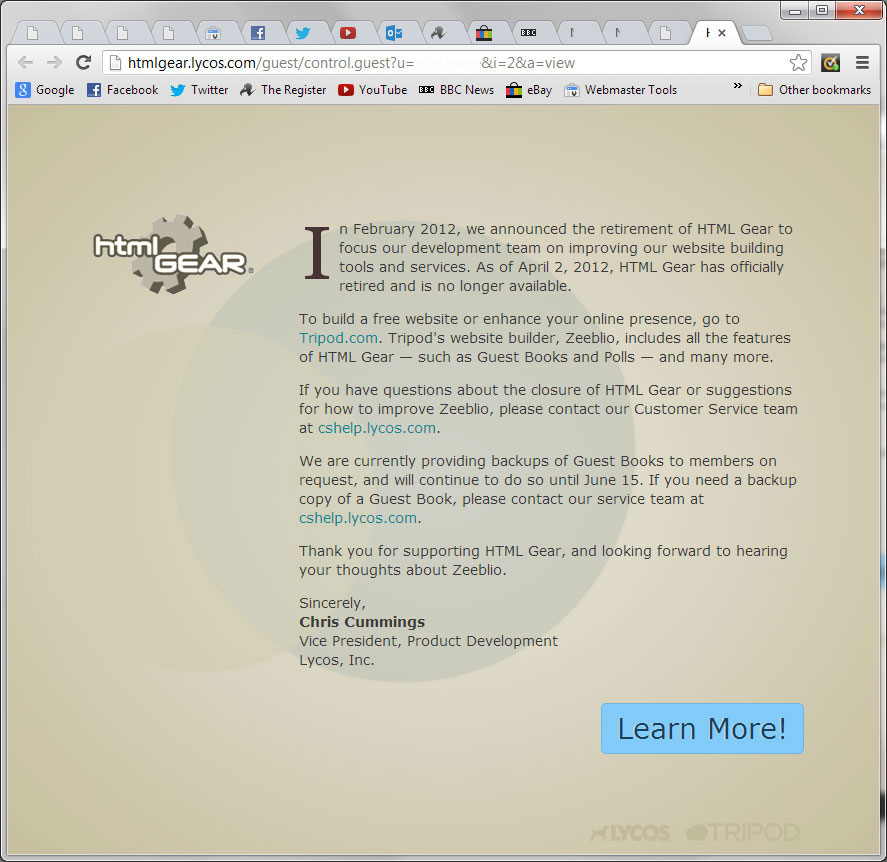
A look at the referring page in the logs pointed to a forum for people looking for freebies, and a popular forum at that! A forum user trying to get their point across about what Sky Router they had Google searched it, found my image and linked it on the forum post.

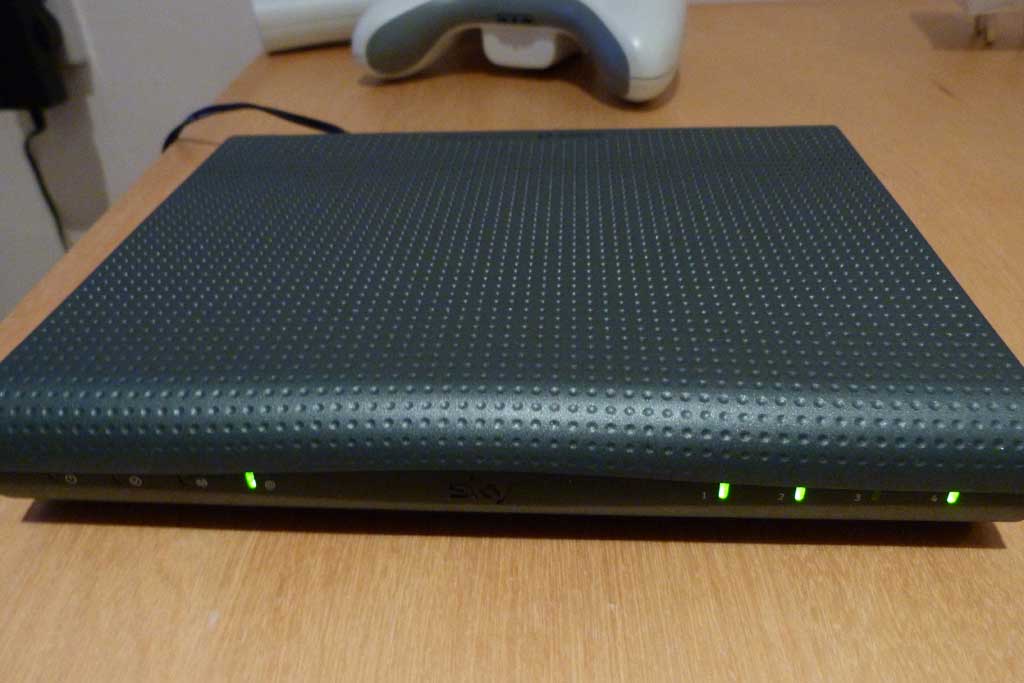
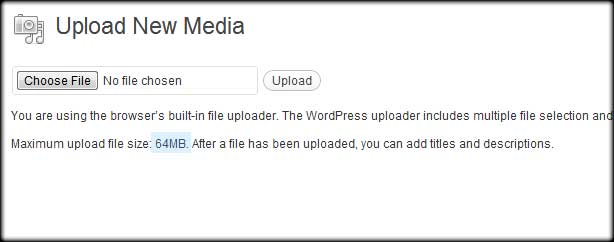
I didn’t necessarily have a problem with this, since it was a “not for profit” point, but my beef was that the user decided to link the raw 4320 x 2880 image taken off my bridge camera, weighing in at 4.87MB!

On the forum a few grumbles over the image started to appear, all about it causing long page load times, No shit! At my current upload speed it takes 76 seconds to download, couple that with around 5 requests per min it would take much longer.

Lessons Learned:

  • Watch your logs for spikes, content used on more popular websites.
  • Be aware that when you upload an image to WordPress, it keeps the original size for the expanded view.
  • Make sure ALL the content you host on your home server is tailored for the bandwidth, as you never know what may be used!
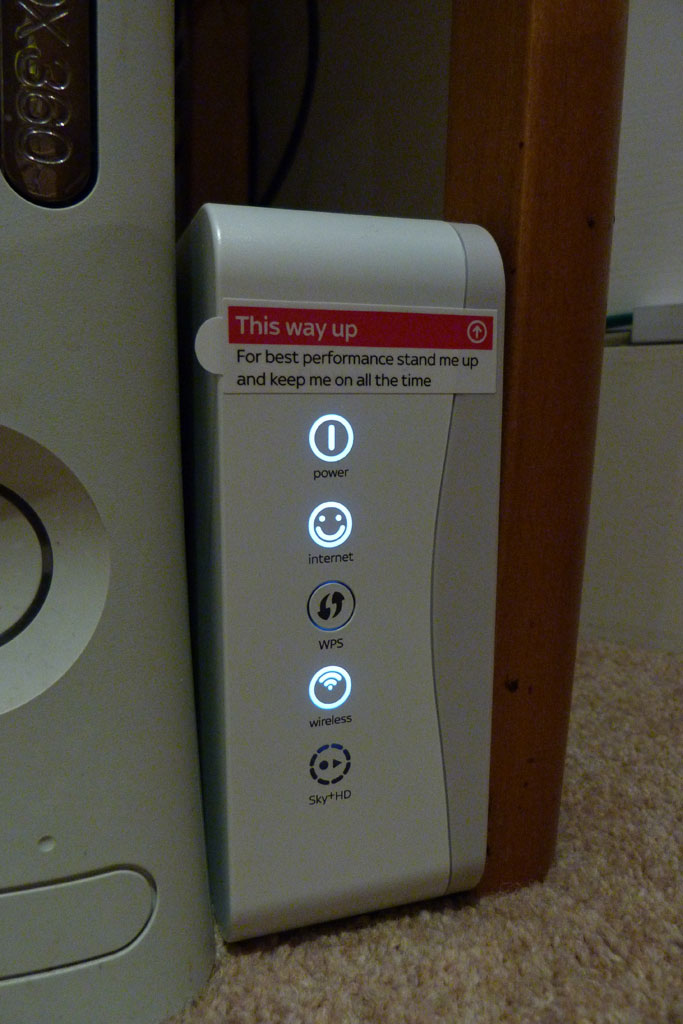
FOOTNOTE:

The forum post that my image was linked to was about an offer to get a free Sky Wireless Booster. So I thought I may as well:

Sky Wireless Hub
Sky Wireless Booster


RDP on iPad

I originally purchased my iPad so I could peruse the net from the comfort of my sofa, and so far I’m impressed with what I can actually achieve on it. The limitations if iOS and the form factor over my trusty laptop are there, but I’m trying to blur the differences.

Apart from the almost impossible-to-use spreadsheets, I kept referring to the laptop when I needed to Remote Desktop into my server. Luckily there is an iOS solution for this in the guise of the Desktop RDP app.

20130604-085124-PM

I had the free version on my iPhone, but due to the small screen being productive was impossibly tedious, and so was left on my phone for server emergencies.

The iPad version however, is a lot more feasible, setting it to connect to my Win 2003 server with a screen resolution of 1024×768 means that the desktop can be controlled with all the desktop in view.

20130604-085721-PM

The paid version of Desktop RDP includes the full keyboard, and the ability to drag and right click, something of a necessity for windows, but the more clever users the get along in the free versions without these “perks”, although I wonder if it is not worth the £3.99 for these.

Looking for apps that allow you do what on a PC would be easy is a perilous journey, and in the case if trying to find a suitable office app, an expensive one. But I am glad, if not relieved that this purchase turned our to be a good one.

If I’m out on the wilderness armed only with an iPad and need the features of a PC, I can now just RDP into my server to get the best of both worlds, a lot better than lugging around my desktop replacement notebook.

Why I hate the cloud!

Call me cynical, but I’ve always hated “the cloud”, maybe it was due to my love of personal servers that a person (me) would have complete control over. Or maybe that it was the fact that you have to essentially hand over all your data, user base, posts, comments etcetera over to a third party company that unless you comb through the terms and conditions, can do what they like with it.

My first venture into this came about before it was even called “the cloud”, I was setting up a guestbook system to work on my otherwise static only website, this meant signing up to one of those “guestbook websites” such as Html Gear, which later became part of Lycos. In those days of 2001+ my biggest bugbear was the adverts that always accompanied a free guestbook setup.

Even though the static web pages I created with links to guestbook sites have long past, I have enjoyed reminiscing the past posts on the guestbook of my creations, made possible only by looking through the backups of old websites and extracting the obscure URL from the HTML.

Alas, on my recent nostalgic trip of past websites I was met by this handy message:

So my data has gone?

Thanks I thought, my piece of data that I thought would carry me till my twilight years has been suddenly ripped from my heart. A bit dramatic, but that’s what I thought.

Travelling back to early 2001, I simply didn’t have the resource to host a guestbook locally, whether it be with hosted solutions that did not allow dynamic code (remember Geocities), or my own first home server that did not have the power to process code without time-outs.

Since then I quickly learnt to try my best at hosting forums (the then next step after guestbooks) locally on my own server, free to dispose of the data as I wish. In the years that follow I realise it may be a pain to find/write the code to display the data as it was, but I will always have that data close to me, free to read the raw database and exercise my nostalgia.

Furthermore, this event takes me back to when me and my peers used a service called MSN Groups, those of you that remember the acronym MSN assume that it is now doomed. It is, with all of our social commentary and all photos since deleted “cos it’s on MSN so we don’t need to keep our own local copy”.

Be warned, the cloud may be a quick, cheap and easy alternative to learning things properly, but rest assured the data you create WILL NOT be around forever, or even long enough for you to get bored of it.

If you run a website where you are dealing with data, guestbook, forums etc. Get your own server! Or least a service that allows you to pull all the data to a local copy.

Major Internet Outage

Last week my websites suffered their first major outage since I got my new server in April 2011. Luckily it wasn’t the server itself, but twas the internet connection that let me down.

I took delivery of a Netgear FVS318N router to replace a basic hub, installed it and did a bit of cable management which involved unplugging my Sagem F@st 2504 that I use as a modem.

However upon powering up the Sagem after tidying cables, it has no life, apart from this strange arrangement of light on the front:

Power Supply failure on Sagem F@st 2504

I called Sky (my ISP) support who happily informed me that there is a common issue with the power supply to the Sagem router that caused them to fail. Wanting to get back on the net immediately and conversation about a replacement power supply giving vague delivery lead times, I opted to purchase the new Sky branded router (dubbed the Sky Hub):

P1010439

The outage lasted 5 days as I waited for delivery of the new modem. An annoyance of this is that I had a spare, working ADSL modem but this could not be used as Sky does not give out the credentials to log on to their network, instead choosing to pre-load them on the modem before shipping.

Overall its an example of the unexpected issues that can arise when running a home server on a budget.

BOOTNOTE:

It has been mentioned in many Sky internet forums that using an unapproved Sky router, i.e. one not supplied by Sky, will be in breach of the Terms & Conditions. However whilst on the phone to Sky broadband technical support the representative told me that it was acceptable to use a 3rd party router if the user was confident and acknowledged that no support would be given unless a Sky provided router was used.

The case may be that you still need to hand over the cash to Sky for one of their routers and keep it to hand, but after that the choice is yours!

Installing HP Printer on Windows Server 2003

Connecting a printer to a server compared to a desktop system is not as straight forward as it may be perceived. Whether the manufacturers software simply refuses to install on Windows 2003 or insists on adding a load of bloatware on your system, here is how to get around it:

Step 1: Start by downloading the basic version of the drivers from the HP website, choose Windows XP drivers if there are none for Windows 2003

Step 2: Open the executable file, allow it to extract and display the first setup screen. Here, depending on the printer chosen it may let you continue with the setup, or stop the installation there telling you the operating system is not supported.

Photosmart-1

Whatever the installation screen displays, DO NOT CLOSE THE WINDOW, while its open all the files you need are made available. Next navigate to your temp folder. TIP: Go to Start Menu à Run, and type  %temp%. This will bring up your temp files.

Photosmart-2

In the temp folder, look for a folder containing the setup files that were extracted as part of the installation, it will usually have .inf files that contain the printer model as part of the filename, below is an example of the drivers to install a HP C4700:

Photosmart-3
Look for references in the file names that match your printer’s

Step 3: At this point its best to copy (not move) the contents of the folder to a more convenient location. When a copy is made, you can close the installation utility as you have all the files in a new location.

Now navigate to Start > Settings > Printers and Faxes, and then start the Add new printer wizard.

After the intro splash, choose “Local printer attached to this computer” and un-check the box for “Automatically detect and install my Plug and Play printer”

Note: Step 4 is for installing a printer over a network, if you are connecting via USB, skip to step 5.

Step 4: Click next, on the next screen you will want to select “Create a new port” and choose “Standard TCP/IP port” from the drop-down menu, as below:

Photosmart-4

This brings up a new wizard, after the intro splash onto the add port screen, type the IP address of the printer:

Photosmart-5

NOTE: To save reconfiguration in the future, remember to set the printer to have a static IP address as you are not installing the program that find the printer on a dynamic IP address.

The next screen, leave the settings as a “Standard device type” and “Generic network card”. Clicking next brings you to printer software screen.

Step 5: Click the “Have Disk” button and navigate to the copy of the installation files.

Photosmart-6
Choose the most generic file name.

Only .inf files show, and you want to choose the most generic file name that is similar to your device, in this case above hpC4700.inf seems the most obvious.

If the right file has been chosen, you see your printer display as below.

Photosmart-7

If you get a warning message about a digital signature, choose “Continue Anyways”, but make sure you downloaded the drivers from a reputable site, such as the official HP website.

The installation wizards copies the files, then choose to print a test page to make sure all is well, and your HP printer appears in your printers folder.

Photosmart-8

Increasing Maximum Upload File Size in WordPress

When installing WordPress on a fresh new server, you may notice that all uploading is limited to 2MB. A search online reveals that this gripe is well discussed. However most solutions are tailored for users who rent dedicated WordPress hosting from companies.

For those of you who are using your own server, navigate to the file php.ini located where the core php installation is, normally in the Program Files/PHP folder in Windows.

php

From there, edit php.ini using Notepad or similar, changing the following values:

“Upload_max_filesize” from “2M” to 64M (or as desired)
post_max_size” from 8M to your favoured size

Check back on your WordPress site to see if the change has applied:

upload

Got my slice of Pi

Last night after months of waiting if finally got my hands on my own Raspberry Pi.

pi

After the initial jumping on the bandwagon I needed to turn my attention to figuring out what I will do with it. Initial thoughts (After playing and seeing what it can do, of course) was to use it as a media player for my TV, since my thirst for high definition mkv files outstrip not only my TV but my XBox for playback.

Second thoughts is to use it to power this WordPress blog, quick reading online speculates that it may be a challenge but is achievable. Something to think about, but only after I get bored of it, no point having a web server that I’m going to fiddle with (brick!) constantly.

Shall keep you posted on my relationship with the Pi!