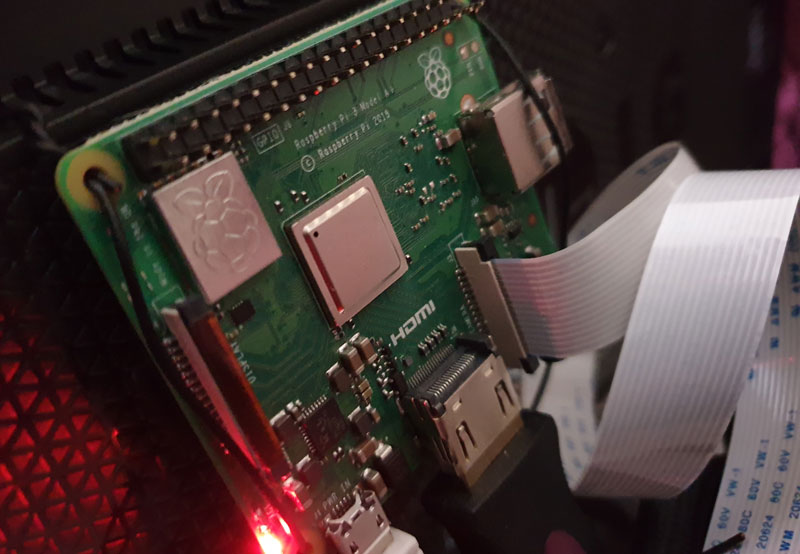
Following the setup of a Cent OS CCTV server, I’ve been using Raspberry Pi’s as video sources. But what if there was a Raspberry Pi in perfect situ for a CCTV camera, but was already in use as a media player?
A Linux system has always had the impression that it is versatile, so this should be an achievable task. A barrier would be how to get this done with the operating system installed, in this case it is LibreElec, an OS with the tagline “Just enough OS for Kodi”. Therefore, it would be more of a challenge than a usual Debian install.
The team at LibreElec saw this type of thing coming, and included the Docker service as a Kodi addon to allow the curious tinkerer to add more than Kodi to a Pi.

If you have the LibreElec based Pi in the opportune placement to add a camera, here is how to add Mjpeg streaming capabilities…
Add the Addons
Via Kodi on the screen, goto:
Addons --> Install from Repositories --> Services
Then install the two addons required:
RaspiTools
Docker
CLI Access
To setup Docker and its container (the Mjpeg streamer) requires Command Line Interface (CLI) access to the Pi, if not already enabled during setup enable it via Kodi by navigating to:
Settings --> LibreElec --> Services --> SSH
Mjpeg streamer
The M-Jpeg-streamer is a well-used Linux library, and have chosen the Open-Horizon version of a Docker image for this task.
Log in to the Pi via SSH and run the following:
docker pull openhorizon/mjpg-streamer-pi3:latest
Follow the prompts and be prepared to wait as the Docker image builds.
When complete, start the Docker container with:
docker run --restart=always -it -d --privileged -p 8081:8080
openhorizon/mjpg-streamer-pi3 ./mjpg_streamer -o "output_http.so -w
./www" -i "input_raspicam.so -x 1280 -y 720 -fps 10 -ex night"
This code explained:
docker run: start a Docker container
–restart=always: Restarts a container if the system is restarted
-it: allocate a pseudo-TTY for debugging and to stop it.
-d: Run in background, enables CLI to exit without stopping container.
–privileged: Give privileges that allows access to the camera.
-p 8081:8080: Translate streaming port from 8080 to 8081, as not to conflict with Kodi.
openhorizon/mjpg-streamer-pi3 ./mjpg_streamer: name of Docker image.
-o “output_http.so -w ./www”: internal reference.
-i “input_raspicam.so -x 1280 -y 720 -fps 10 -ex night”: Camera settings, set resolution, frames per second and Pi camera filters.
Run
The Docker container should now be running, check this by entering this in the CLI:
docker ps -a
To show running containers.
Now you can access the web GUI by visiting http://ip_address:8081 to test.
From here it can be added as a Network Camera to MotionEye.
Configuration
During setup its important to consider the hardware it running on. This was running on a Wi-Fi only Raspberry Pi 3A+, while it’s processing power was more than adequate for my initial setup of 1920×1080@20fps this saturated the network connection, leaving no bandwidth left to stream the media LibreElec was designed for. The reduction to 1280×720@10fps reduced the active bandwidth enough as not to interrupt the media players primary function.
One thought on “LibreElec – Pi Camera Mjpeg Streaming”
Comments are closed.