I’m in the process of migrating hypervisors and the time has come to move my Zabbix instance that monitors my network, and Grafana that I use for dashboard displays.
Instead of a backup and restore of the VM, it seems the right time to migrate Zabbix and Grafana from an aging RHEL 8 instance to a new VM running a fresh copy of Debian 13. At the same time upgrading the applications to their latest versions…

Zabbix
New Server: Preparation
Begin by installing a LAMP stack on the new server:
apt install mariadb-server apache2 php php-mysql php-bcmath php-mbstring php-xml php-ldap php-json php-gd php-zip curl gnupg lsb-releaseThen setup the basic configuration of MariaDB:
mysql -u root

ALTER USER 'root'@'localhost' IDENTIFIED BY 'password';
DELETE FROM mysql.user WHERE User='';
DELETE FROM mysql.user WHERE User='root' AND Host NOT IN ('localhost', '127.0.0.1', '::1');
DROP DATABASE IF EXISTS test;
DELETE FROM mysql.db WHERE Db='test' OR Db='test\\_%';
FLUSH PRIVILEGES;
To give it somewhere to migrate to, install a fresh, blank copy of Zabbix on the new server. The latest version can be used and is available on the Zabbix website, as the application will detect and auto upgrade your exisiting data (So long as a direct upgrade path between versions is supported).
As an example with version 7.4, first add the Zabbix repositories:
wget https://repo.zabbix.com/zabbix/7.4/release/debian/pool/main/z/zabbix-release/zabbix-release_latest_7.4+debian13_all.deb
dpkg -i zabbix-release_latest_7.4+debian13_all.deb
apt update
And install Zabbix:
apt install zabbix-server-mysql zabbix-frontend-php zabbix-apache-conf zabbix-sql-scripts zabbix-agent2If following the install intructions from the Zabbix website, stop before starting the service. Instead, we’ll first pull and import the database from the old server…
Old Server: Export database
On the old/source server, temporarily stop Zabbix server:
systemctl stop zabbix-serverNow dump the database to a file. As this old server only ran Zabbix, we’ll dump the whole MySQL instance to preserve users and settings which will make migration easier.
If yours is more complex, dump just the Zabbix database and recreate the users manually on the new server.
Export the whole MySQL instance:
mysqldump -u root -p --all-databases > mysql.sqlWhen it completes, restart Zabbix on the old server, just incase you’d need another go at it later.
systemctl start zabbix-serverNew Server: Import
Back on the new server, pull the exported database locally:
scp root@{old-server-ip}:/root/mysql.sql .Also grab the configuration files of the old server, it’ll come in handy later:
scp -r root@{old-server-ip}:/etc/zabbix/* .Import the copied database:
mysql -u root -p < mysql.sqlIf importing an “–all-databases” export, the newly added users need to be commited before they can be used.
Note that after executing the below, the root credentials will be overwritten by those of the old server:
mysql -u root -p
FLUSH PRIVILEGES;
Next is the configuration file. I would recommend comparing the old and new /etc/zabbix/zabbix_server.conf files, and updating the new .conf to match the old rather than just copying the file.
nano /etc/zabbix/zabbix_server.confNow, its time to start Zabbix:
systemctl enable --now zabbix-serverChecking for any errors can be made by monitoring the log file:
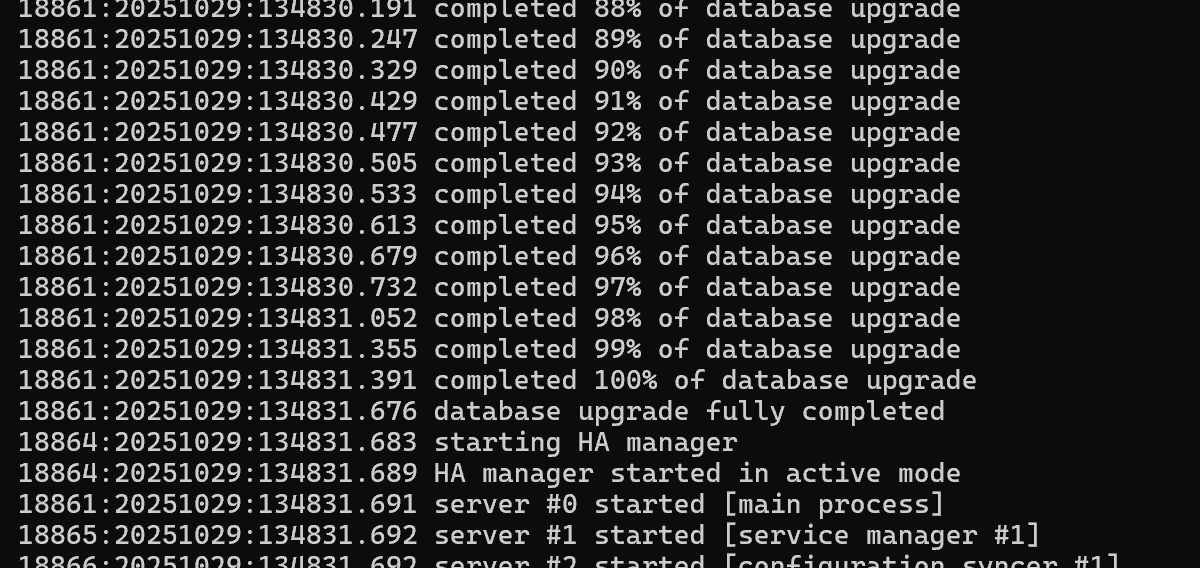
tail -n 100 /var/log/zabbix/zabbix_server.logSoon after starting the service you’ll notice a database upgrade completing in the file, this is Zabbix automatically upgrading your old data to the newly installed version, neat.
Visit the Zabbix web interface on the new server:
http://{new-server-ip}/zabbix/You’ll be greeted with the setup wizard, follow the steps on screen to complete.
Don’t worry, Zabbix is running and logging now data to your existing Zabbix hosts, this wizard simply creates the /etc/zabbix/web/zabbix.conf.php file.
Once the wizard is completed, you’ll return to a familiar yet updated interface via the new server.
Zabbix Proxy
If the migration involves a major version change and you’re using proxies, the dashboard will quickly flag a problem with the proxy version being incompatible.
On the proxy, you’ll need to update the application by setting the associated version in the repositories and installing the updated version.
Using a Rocky 8 install as an example, add the updated repo:
rpm -Uvh https://repo.zabbix.com/zabbix/7.4/release/rocky/8/noarch/zabbix-release-latest-7.4.el8.noarch.rpm
dnf clean all
Then install the updated version:
Install
dnf install zabbix-proxy-mysql
Restart the service, and it will be up to date:
systemctl restart zabbix-proxyGrafana
Migrating and updating Grafana is much the same process as Zabbix, if a little easier.
Install Grafana, on Debian 13 it is available from the main repository:
apt install grafanaPull the required files direct from the old server to the new:
scp root@{old-server-ip}:/etc/grafana/grafana.ini .
scp root@{old-server-ip}:/var/lib/grafana/grafana.db .
Overwrite the installed files with the ones pulled from the old server, and set the correct permissions:
cp grafana.ini /etc/grafana/grafana.ini
chown root:grafana /etc/grafana/grafana.ini
cp grafana.db /var/lib/grafana/grafana.db
chown grafana:grafana /var/lib/grafana/grafana.db
Before starting, install any plugins used on the old server, for example:
grafana-cli plugins install alexanderzobnin-zabbix-app
grafana-cli plugins install grafana-clock-panel
Now Grafana can be started:
systemctl enable --now grafana-serverAnd visit the web interface:
http://{new-server-ip}:3000/Where you can pick up at where you left on the old server.