I have been running Gigabit Ethernet on my network for a few years, the speed from my everyday laptop was good enough at 40MBps but wasn’t running close to capacity when moving large files to the server, I assumed that this was down to the 5400rpm Hard Drives on the laptop not being able to fill the bandwidth on the network.
Recently while shopping for network cables to connect my new server I though it time to get a new line for the laptop since the plug clip on the current one was broken. I decided to go for Cat 6 cables just to keep up to date and nowadays there is not such a price premium over Cat 5e.
The first transfer of data through the new cable and instantly got 70MBps, nearly double the 40MBps I was getting before. Wondering why there was such a difference I looked at the replaced cable:
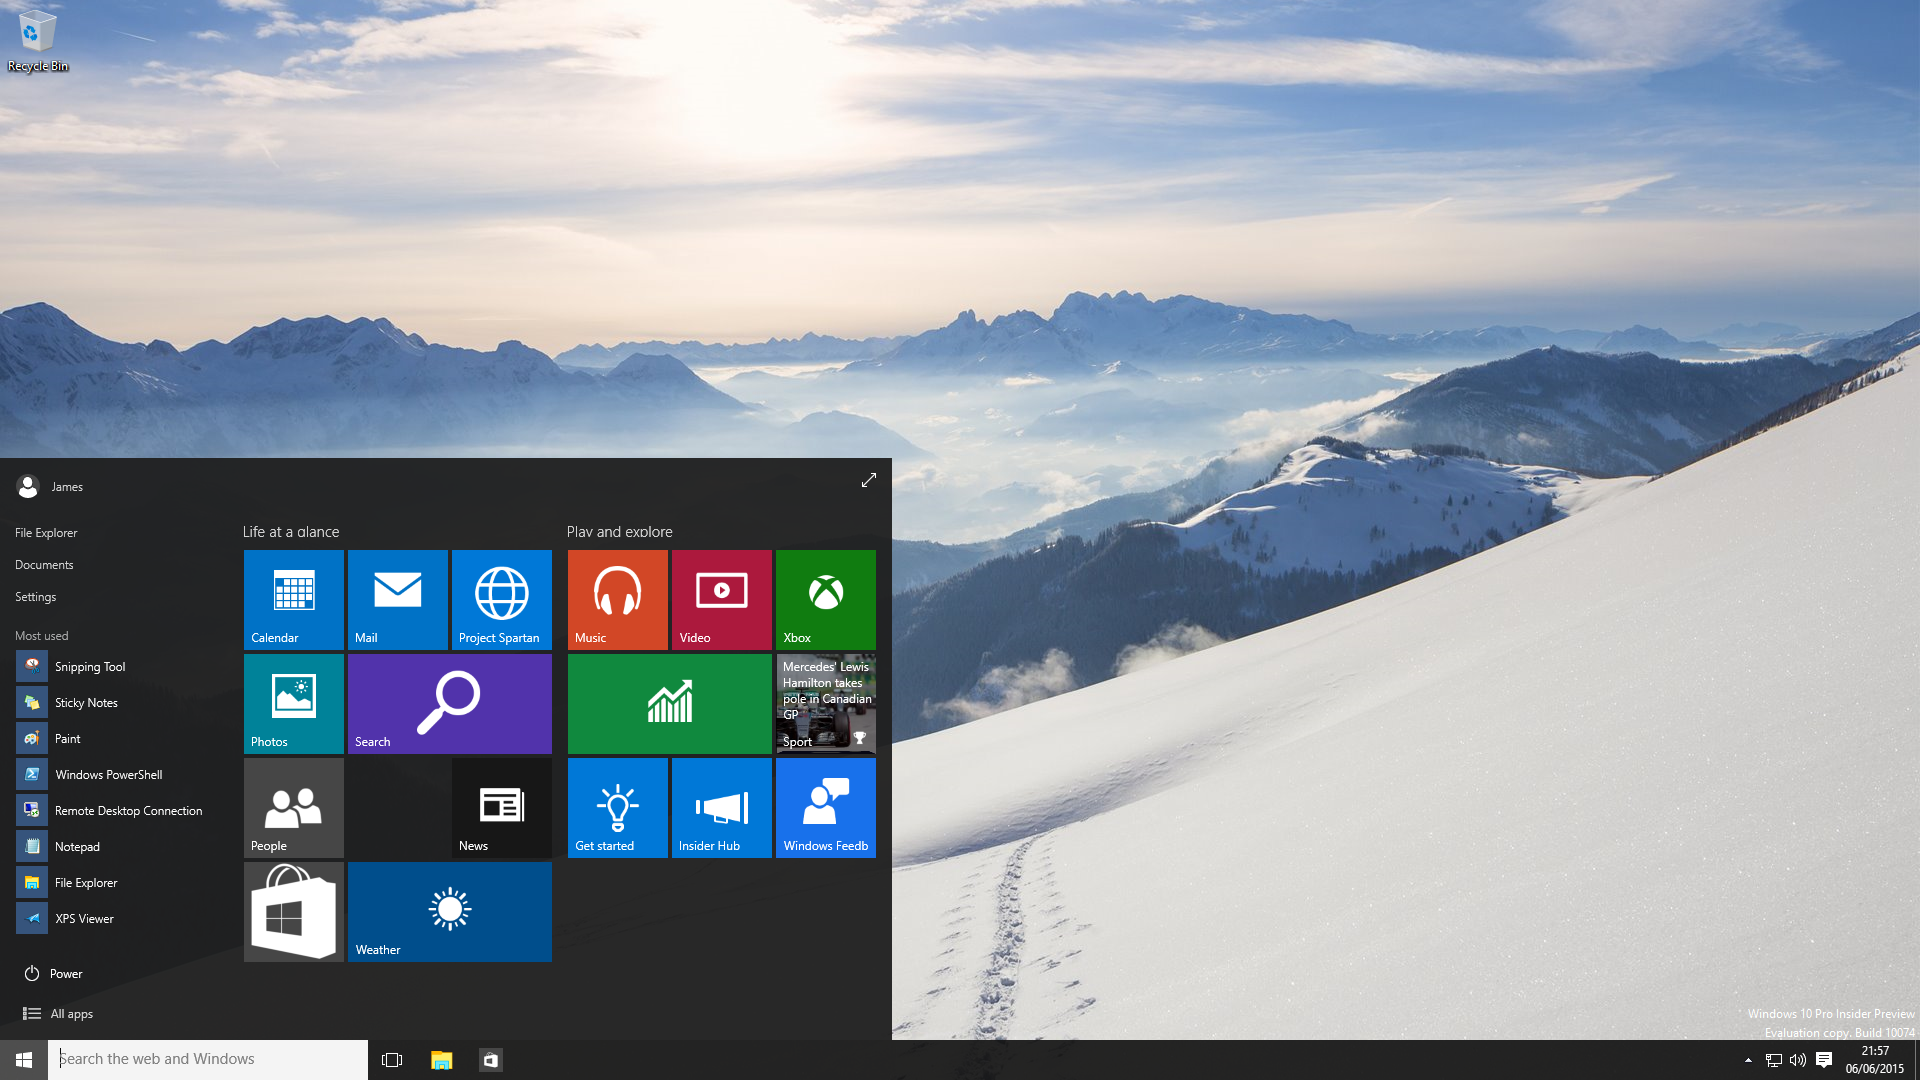
I just got my first hands on look at Windows 10, before I even start I must note that this is not going to be an in depth review of the system as I am just hopeless at writing reviews, so instead here are a quick few pointers of what I noticed.
The time came when my 1TB drives were full, having a data clearout reclaimed a bit of free space but it was time to upgrade.
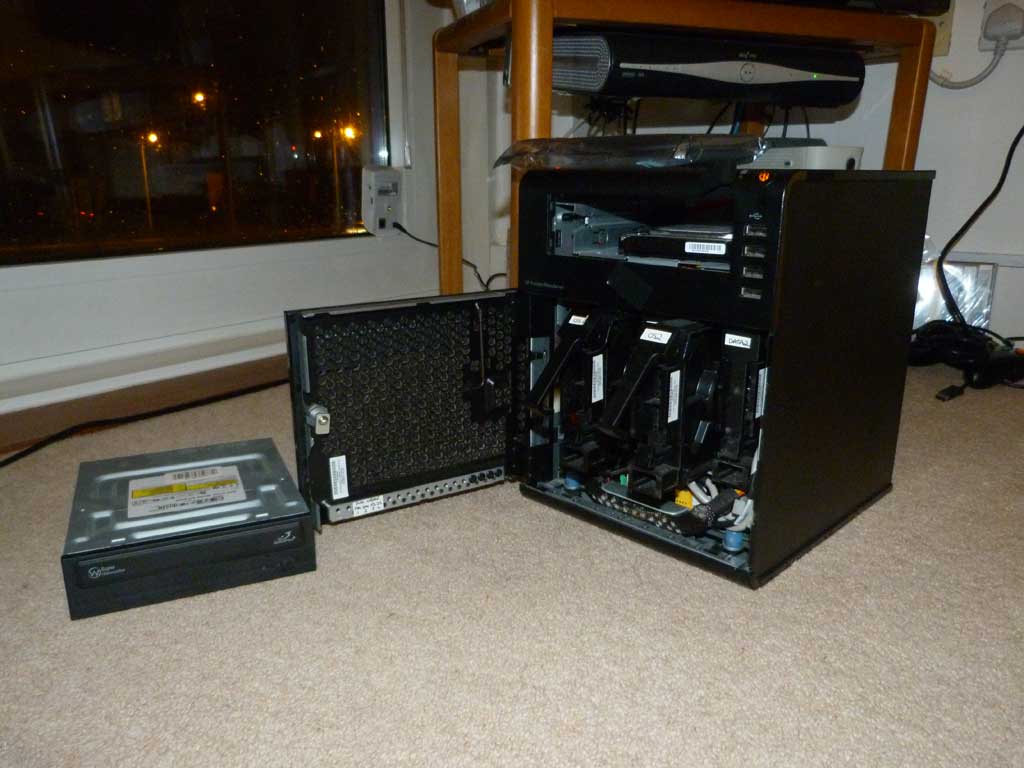
The HP Microserver I am running has four HDD bays all populated with 1TB drives in RAID 1 configuration, so to increase capacity I had to replace two of the disks. I went for two Western Digital Green 2TB disks as the 1TB variants I currently had proved reliable.
Moving the data over to a new disk would be tricky, the simplest solution would be to put the old drives into a USB caddy and plug into the server, but I had previously found that USB drives don’t like RAID. But since RAID1 means redundancy, I could tackle this another way…
Just a quick one, I think I have just worked out why I have a fascination with the Raspberry Pi.
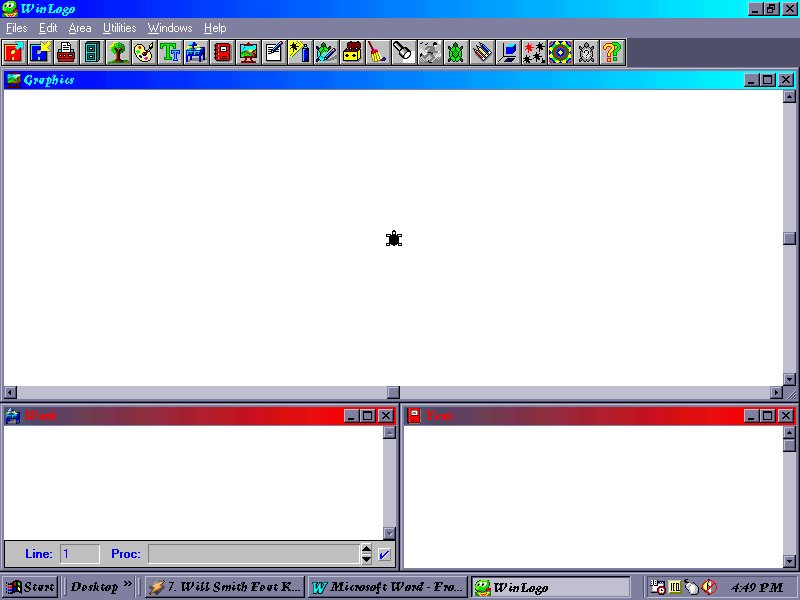
When studying GCSE IT at school, the first chance for me to use a computer at school, the first programming centric software used was Winlogo. A simple drawing application that used code to manipulate a turtle (yes, I kid you not) to create vector shapes on a screen. Basically an overly complicated version of paint.
Screenshot of Winlogo on my first PC, I take full responsibility for the Windows theme and choice of music.
From the last post, the idea of having UPS in my home may put me off forever, but to put it into context the unit had been installed before I was employed over 12 years ago, and over the past 2 years it was beeping intermittently to indicate a fault that a convenient press on any button would silence.
The post before that however had more gravitas, with my server being offline for close to a month all due to a one second power cut made me feel vulnerable to another downtime incident over something I couldn’t control. It was time to look into a Uninterruptable Power Supply to protect my server from power cuts that could knock my RAID out of sync.
A bit off topic but I should document what happened in work today. Got called to investigate a burning smell in one of the offices that house all the servers and network head end. The request was placid enough not to cause alarm but when I got to the room the smell hit you as soon as the door opened. Narrowing the smell down, it was coming from a caged off area underneath a desk that held the servers: An ancient IBM RS600 with UPS and two HP Proliant ML350 G5 with a shared UPS in two modules, along with what seemed decades of dust, discarded cables and old computer hardware that had accumulated over the years.
Servers claimed by years of dust
Once I got down there and started to fathom out what cables were in use and what could be safely isolated without stopping operations, the small wafts of smoke could be seen drifting up from under the desk. At this point it was obvious that any timescales for diagnosing the issue was getting smaller along with the grace period before the smoke detectors trigger the fire alarms and clears the store.
On the initial look, I noticed that one of the Proliant servers had a flashing LED next to a power symbol, two and two went together and thought that a power supply had failed spectacularly, so chose to switch it off, knowing the server was just for redundancy.
A minute passed and no let up of the smoke, by this time a CO2 extinguisher, pin pulled, was close at hand. Out of ideas I pulled all plugs from the wall, the RS6000 UPS failed immediately, the Proliants carried on under battery juice with 105mins left according to their UPS display (1 was still powered off). I left it another minute to rule out a problem with an input to the UPS, and with nervous relief the smoke subsided, a few back office systems went down with the RS6000 but the customer end Proliant stayed online.
With the batteries keeping customer facing systems online for a further hour or so, it was a safe time to find the culprit. An extensive sniff test and the UPS for the RS6000 was pointed out as the source of the incident, possibly why it failed as soon as power was cut. It was taken out of commission and bypassed to get the IBM machine back online.
Failed UPS, I’m not so trusting of you anymore
A rather eventful day compared to the normal, mundane non-IT job. I haven’t opened up the failed UPS to see what went wrong, nor would I want to thinking about what state the (probably) lead cells are in.
It had to happen, after years of reliability (apart from an ISP related failure), I had my first hardware related downtime, caused by a power cut that lasted all of one second.
In the electric free event, only a few electricals switched off, my HP Microserver was one that lost power and restarted. Looking at the headless unit after boot, all lights were on, HDD light on full and the network lamp was flickering away as normal. However trying to access the server, even down to a simple ping, it was unresponsive.
Time for investigation, and it was ripped out of its kitchen cupboard home and connected to a TV along with a keyboard and mouse. From there it was painfully apparent that the RAID mirror had been corrupted and the BIOS couldn’t find the OS. The OS drive was in a RAID 1 mirror so I took out the primary master disk (first on the BIOS boot priority) and tried to boot the remaining mirror. This time it started Windows. All was back on track it seemed, waited for the other mirror holding data to re-sync then changed the boot priority in Windows (not BIOS) to use the good OS drive first. A restart to plug the un-synced HDD in and it booted fine, no SMART errors reported with the removed drive and it started to rebuild the system mirror.
Things then took an ugly turn, using the desktop would be as normal for around 90 seconds, then the system would freeze, apart from the mouse for minutes at a time, before coming back to life and displayed applications requested before the freeze. It seemed as if the system was having big problems trying to read from the disk, it would run fine simply moving the mouse around, but when selecting a program it would freeze, and depending on what you requested to load it could be up to 20 minutes. While in this state of freeze, the HDD lamp on the Microserver would be solid, so naturally it pointed to either a bad hard drive or the RAID mirror was having problems.
The HP Microserver in a state of repair
Not finding a solution, I admitted defeat and did a fresh install of windows, but still wanted to get the latest backup, the data mirror was easy to recover by just removing the drives as they can be imported on a new install. The OS drive was a bit trickier, the system would freeze if I tried to copy files as is. Luckily I had the old 250GB drive that came with the Microserver, it had Windows 2003 on it and ran on the system until more capacity was required, it was swapped out for a 1TB drive. Not so lucky was that the only software found to copy files from a Foreign RAID mirror cost £50, I shelled out this money as my data was more valuable than the asking fee. Along with an extra 1TB drive to hold the data while I juggle drives it ended up costing me a few quid.
All this from a 1 second power cut.
RAID 1 on a system disk:
Research says this is not a good idea. While it will run with no issues during normal operation, after an unexpected shutdown a RAID controller just can’t tell the difference between a good file and an un-synced, corrupt file, so the controller will either guess, which could restore an out of data file, or create a mismatch of current and out of date files that ultimately brings your OS to a halt.
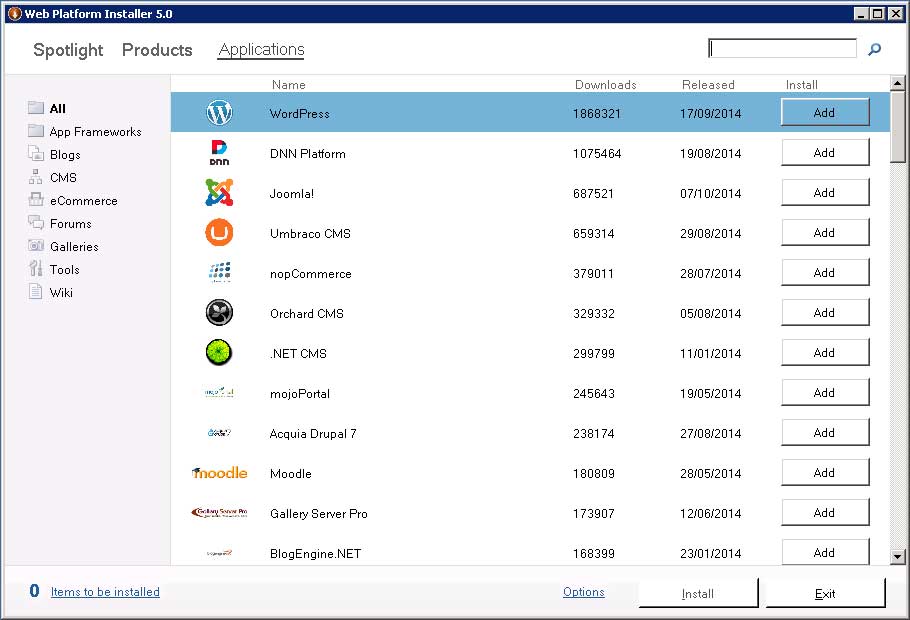
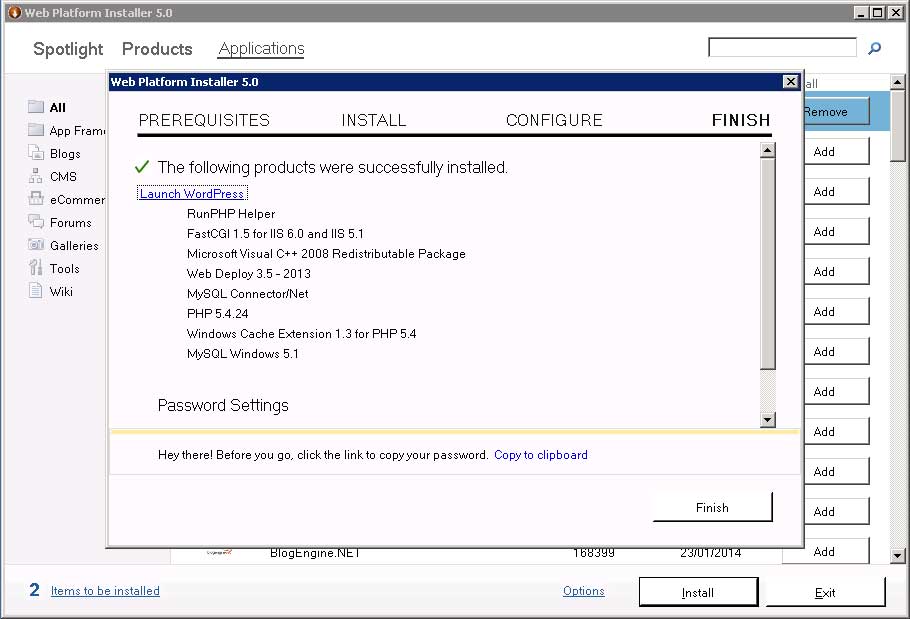
It’s simple, instead of the process of installing PHP, MySQL, assigning permissions and all the debugging that many of us have gone through, Microsoft has come up with WPI, or Web Platform Installer.
WPI makes installing WordPress easy.
Amongst other web applications, WordPress is the most popular and it makes the install on Windows as simple as a few clicks.
All done!
So far I’ve tried it on Server 2003 R2 and Server 2012 R2, both with instant success.
My first RPi was intended to serve as a learning tool for Linux, allowing me to tinker with with a machine without the risk of causing damage to a computer I need on a daily basis, much akin to the design philosiphy on the Raspberry Pi. VM was available, but the ability to program straight to a physical machine akin to the microcomputer revolution of the 80’s that the Pi foundation is trying to rekindle interested me, as I was not around for that part of history.
However in my search for a project that interested me, I found Raspbmc (Now OSMC), the media centre centric OS was such a perfect solution for my televisual needs that my first RPi became dedicated to it by complimenting my home server to stream files to my screen.
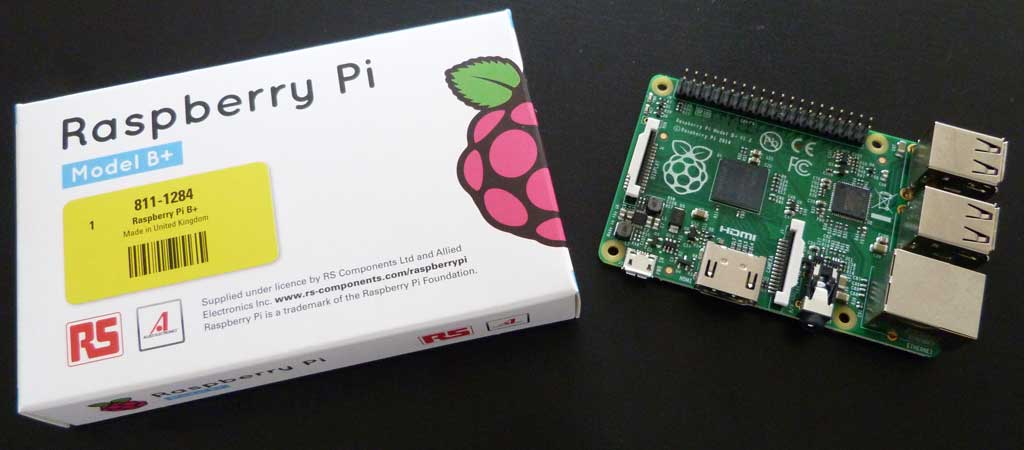
With the recent release of the Raspberry Pi B+, it was time to have another go at figuring out Linux from the command line. At £35 delivered it was still cheap, and this time I know better to source the accessories like micro SD card and Power Supply in advance for a lower price.
Recently I had an attack on this website, as I run a WordPress site this is not an isolated incident. However, in this instance it was a rather aggressive attack compared to the bandwidth I have available. The attacker in this case was saturating my connection with POST commands to wp-login.php as apposed to the usual attacker who send requests every few seconds, in an attempt I presume to not be noticed.
Same server, same file.
Knowing that this was a sustained attack I first turned to enabling Windows authentication to wp-login.php, this made things worse as the data sent from a HTTP 401 error to this page used more data than WordPress denying access.
A 401 error transfers more data than a 200 error.
Failing this, I blocked the IP address from IIS so it will return a 403 error, this brought the data sent back down to normal but still the attack continued.
As a last resort, I performed a lookup on the attacking IP via the WHOIS database, and discovered the attacking computer was on a hosted server in Malaysia:
% [whois.apnic.net]
% Whois data copyright terms    http://www.apnic.net/db/dbcopyright.html

% Information related to '183.81.162.0 - 183.81.162.255'

inetnum:        183.81.162.0 - 183.81.162.255
netname:        IPSERVERONE-MY
descr:          IPSERVERONE - Co-location - AIMS Data Center
country:        MY
address:        L7-13, Level 7, Brem Mall,
address:        Jalan Kepong, 52000,
address:        Kuala Lumpur
e-mail:         abuse@ipserverone.com
abuse-mailbox:  abuse@ipserverone.com
phone:          +60-3-625-95-625
fax-no:         +60-3-625-95-629
e-mail:         ipnoc@ipserverone.com

% This query was served by the APNIC Whois Service version 1.69.1-APNICv1r0 (WHOIS4)
The website dawhois.com was the first best match and reveled that the hosting service for this site was ipserverone.com, and in desperation to solve this I contacted the abuse email listed above.
I have often contact ISPs in this method when receiving an attack, but none have come to fruition, not even a response, this time I got an answer:
Hi James,
We are sorry to hear that, could you please verify now, is still got attack to your site?
Checking that the attack is still going on, I replied that is is still happening:
Hi James,
Seems that I’ve disabled an access few sites that contain suspicious codes.
Is the issue persist?
Checking again, it stopped! Guessing from the fact that the attack continued after changing responses from my server to 401 and 403, it was a bot running, but many thanks to Mohd and the people at ipserverone for stopping this attack and giving me back my bandwidth!