For a number of years, I’ve been using MotionEyeOS on my CCTV cameras, exclusively for the “Fast Network Camera” mode that enables RTSP for low bandwidth ingress to the MotionEye (running on CentOS) while maintaining good image quality.
Finding more uses for these Pi’s necessitates moving to Raspbian with MotionEye as the OS version is very bare bones by. Moving from the OS also means losing the Fast Network Camera and streams on the network jump from 2 Mbps to 25 Mbps.
Over multiple camera’s this really adds up, so I need a way replicate the low bandwidth, high quality streams with the versatility of Raspbian. The solution found is to install MediaMTX (formally rtsp-simple-server) …
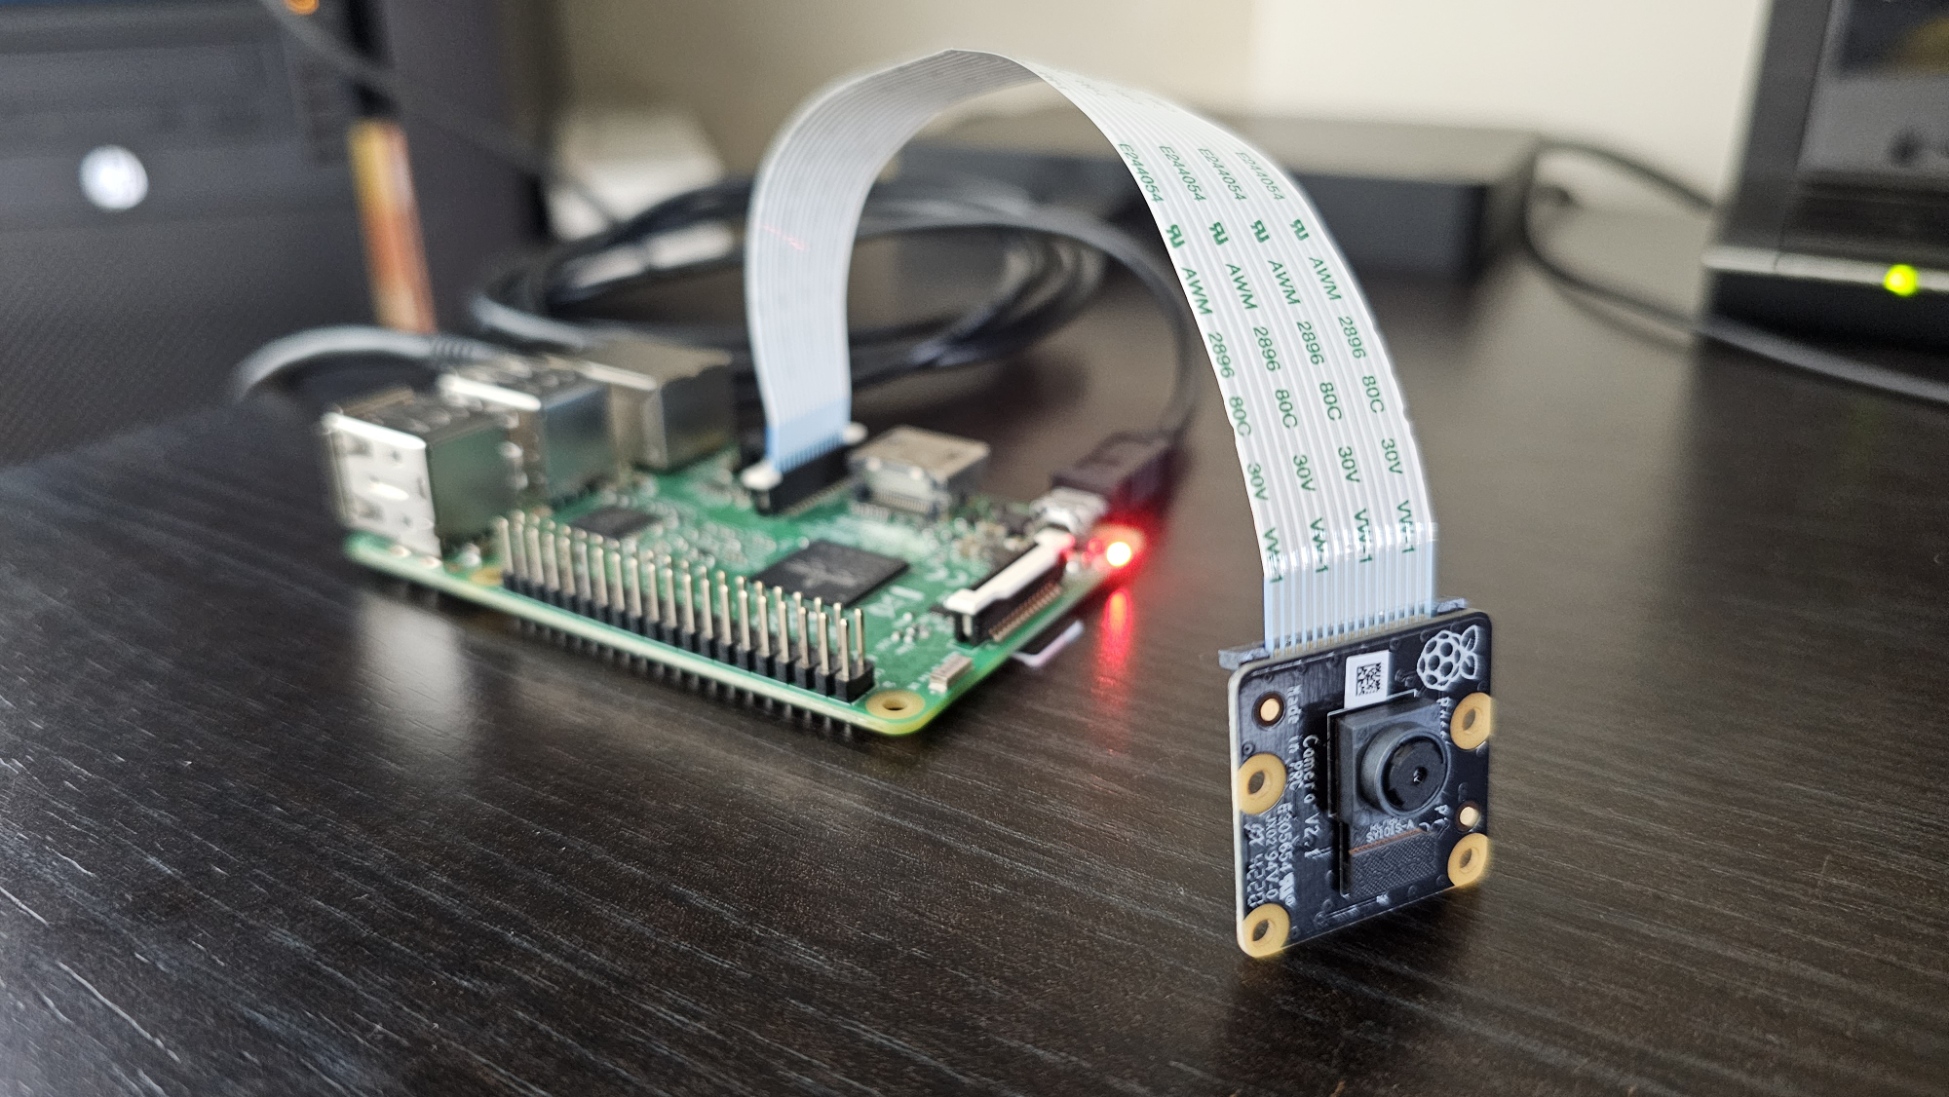
This guide is based on a Raspberry Pi 3 board and using a Pi Camera Module v2.1. The micro SD card has a new install of Raspbian Bookworm 32bit.
Install
Logging in via SSH, run an update to have the latest repo’s available…
sudo apt-get updateUsing MediaMTX with the Raspberry Pi camera module requires a couple of libraries, install or upgrade them
sudo apt-get install libfreetype6 libcamera0MediaMTX can now be downloaded. Which version you use depends on Raspbian version and Pi used. For 32bit versions of Raspbian use the “armv7” variant, and “arm4” for 64bit. To check which one is running…
uname -m32bit versions will respond with armv71 and 64bit with arm64.
Visit https://github.com/bluenviron/mediamtx/releases for latest versions and download links.
Copy the link and enter in the terminal with wget prefix, below example I’m using a 32bit version…
wget https://github.com/bluenviron/mediamtx/releases/download/v1.2.1/mediamtx_v1.2.1_linux_armv7.tar.gzExtract the files…
tar xzvf mediamtx_v1.2.1_linux_armv7.tar.gzOf the files extracted, mediamtx is the binary and mediamtx.yml contains its configuration.
Config and Test
Firstly edit the yml file so it uses the Pi camera
nano mediamtx.ymlScroll to the bottom of the file, replace the following lines of code at the end of the file…
paths:
  # example:
  # my_camera:
  #   source: rtsp://my_camera
  # Settings under path "all_others" are applied to all paths that
  # do not match another entry.
  all_others:
With the following…
paths:
  cam:
    source: rpiCamera
    rpiCameraWidth: 1280
    rpiCameraHeight: 720
    rpiCameraVFlip: true
    rpiCameraHFlip: true
    rpiCameraBitrate: 1500000
Notes:
- YML files require the indentation.
- cam: – this will be included in the path when accessing the stream.
- rpiCamera… – These are extra settings that can be specified, for example the VFlip and HFlip are due the camera being mounted upside down, a full list of options are included further up in the file.
I also took this opportunity to disable all other protocols, just leaving RTSP on. When finished editing, Ctrl O and Ctrl X to same and exit.
To test this config, run the binary…
./mediamtxWhile running, this can be tested using VLC on another computer on the local network, open a network stream and enter the following, replacing {ip address} with the IP of the PI….
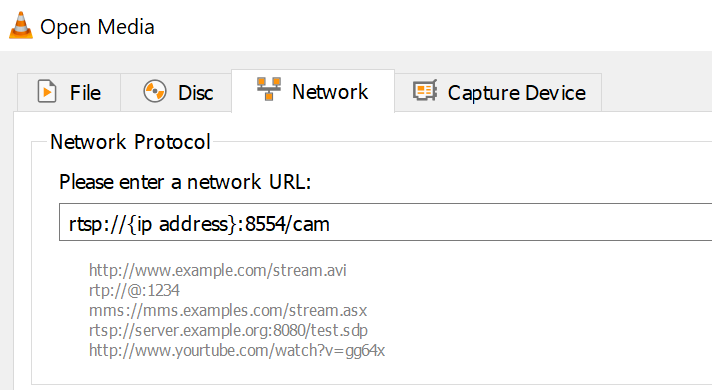
All well and the camera output appears.
Use Ctrl C to stop the program, as we can now add it as a service.
Add as Service
To allow it to start automatically and for easier control of it the program can be created as service. To start let’s move the files to a safer directory…
sudo mkdir /opt/mediamtx
sudo cp mediamtx /opt/mediamtx/
sudo cp mediamtx.yml /opt/mediamtx/
Create a new service file for editing…
sudo nano /etc/systemd/system/mediamtx.serviceand add the following…
[Unit]
Wants=network.target
[Service]
ExecStart=/opt/mediamtx/mediamtx /opt/mediamtx/mediamtx.yml
[Install]
WantedBy=multi-user.target
Ctrl O and Ctrl X to same and exit.
As it’s a new service file, need to reload systemctl…
sudo systemctl daemon-reloadNow can start the service and enable at the same time so it starts when the Pi starts…
sudo systemctl enable --now mediamtxTo check its running, use the following
sudo systemctl status mediamtxShould get the following…
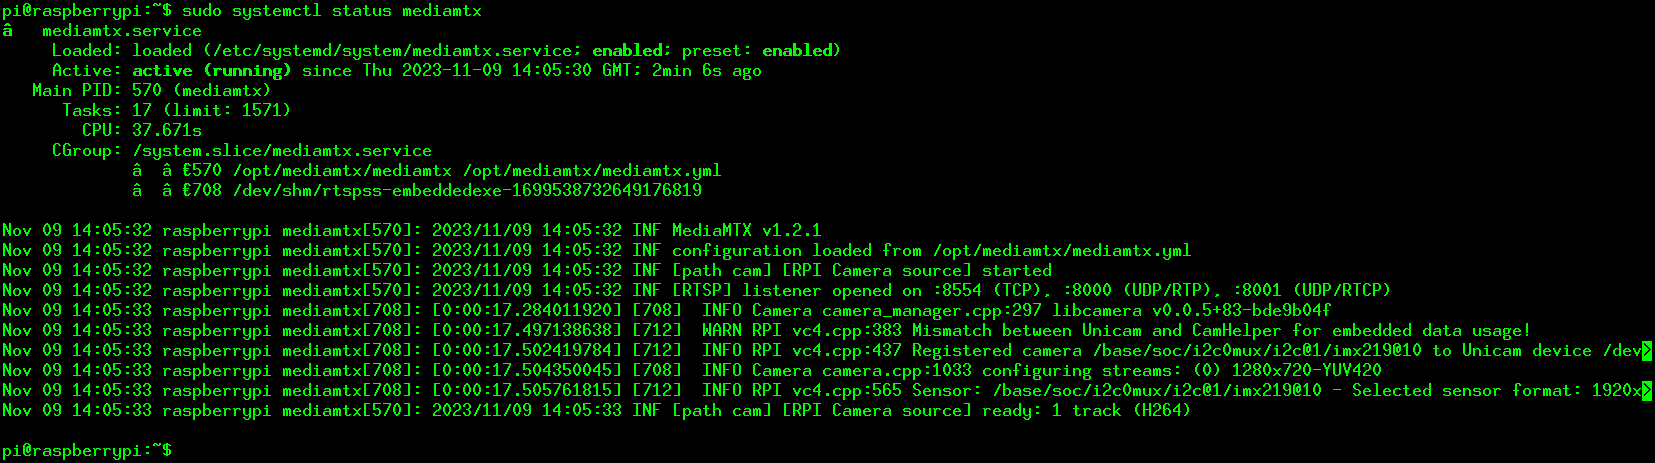
Now you can access the stream again via VLC, or add as a network camera to a MotionEye setup.
Results
To goal of this exercise was to reduce bandwidth on the network and return to similar levels observed when using MotionEyeOS while using a Raspbian OS.
Below are iftop comparisons while a camera stream is open and at 1280 x 720.
Using MotionEye, with http connection to a MotionEye server:

Using MediaMTX streaming via RTSP to VLC:

Considerations
While searching for a solution I tried StreamEye, a simple program written by the same developer as MotionEye.
While a very easy program to get up and running and it offered features close to “Fast Network Camera” on MotionEyeOS, the pure MJPEG stream resulted in approx. 40Mbps bandwidth utilisation on a 720p stream.