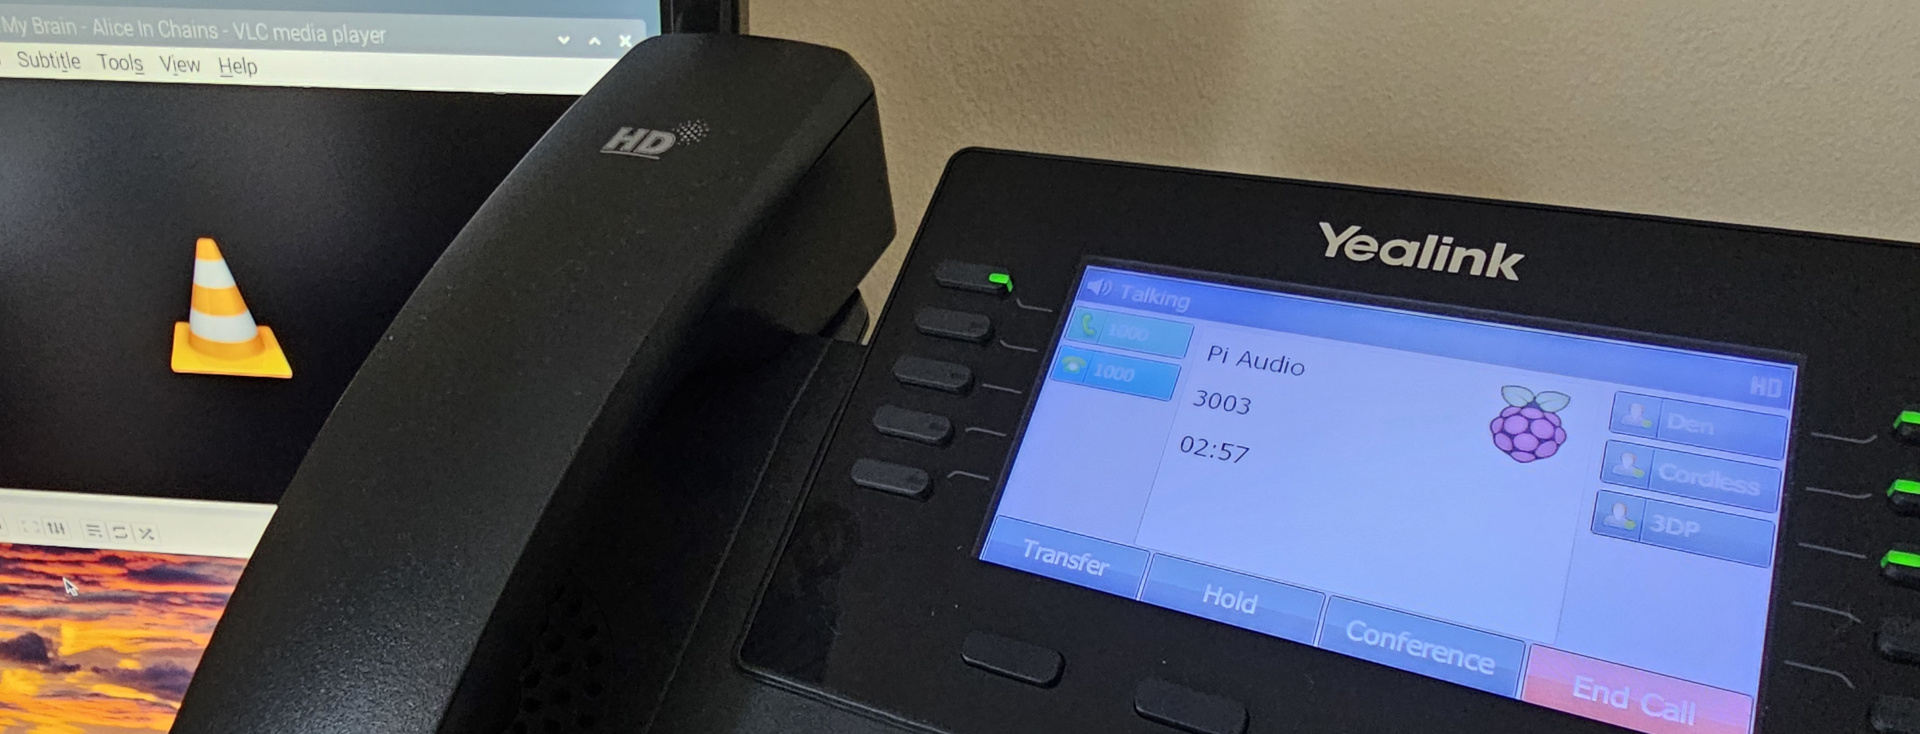
In my Development Den (the spare room) I have a Raspberry Pi 4 setup with a monitor for use as a quick reference station when working on nearby devices.
With no speakers connected this can sometimes pose an issue when trying to follw a tutorial video, and when I do need audio, a Bluetooth speaker is never around.
There is a SIP phone next to the Pi on my desk, and so I thought; that has a decent network connected speaker, why not use that?
This project is so cobbled together I’m almost proud of it, I don’t expect anyone to be able to recreate this exactly but if there are parts of it that help, here you go.
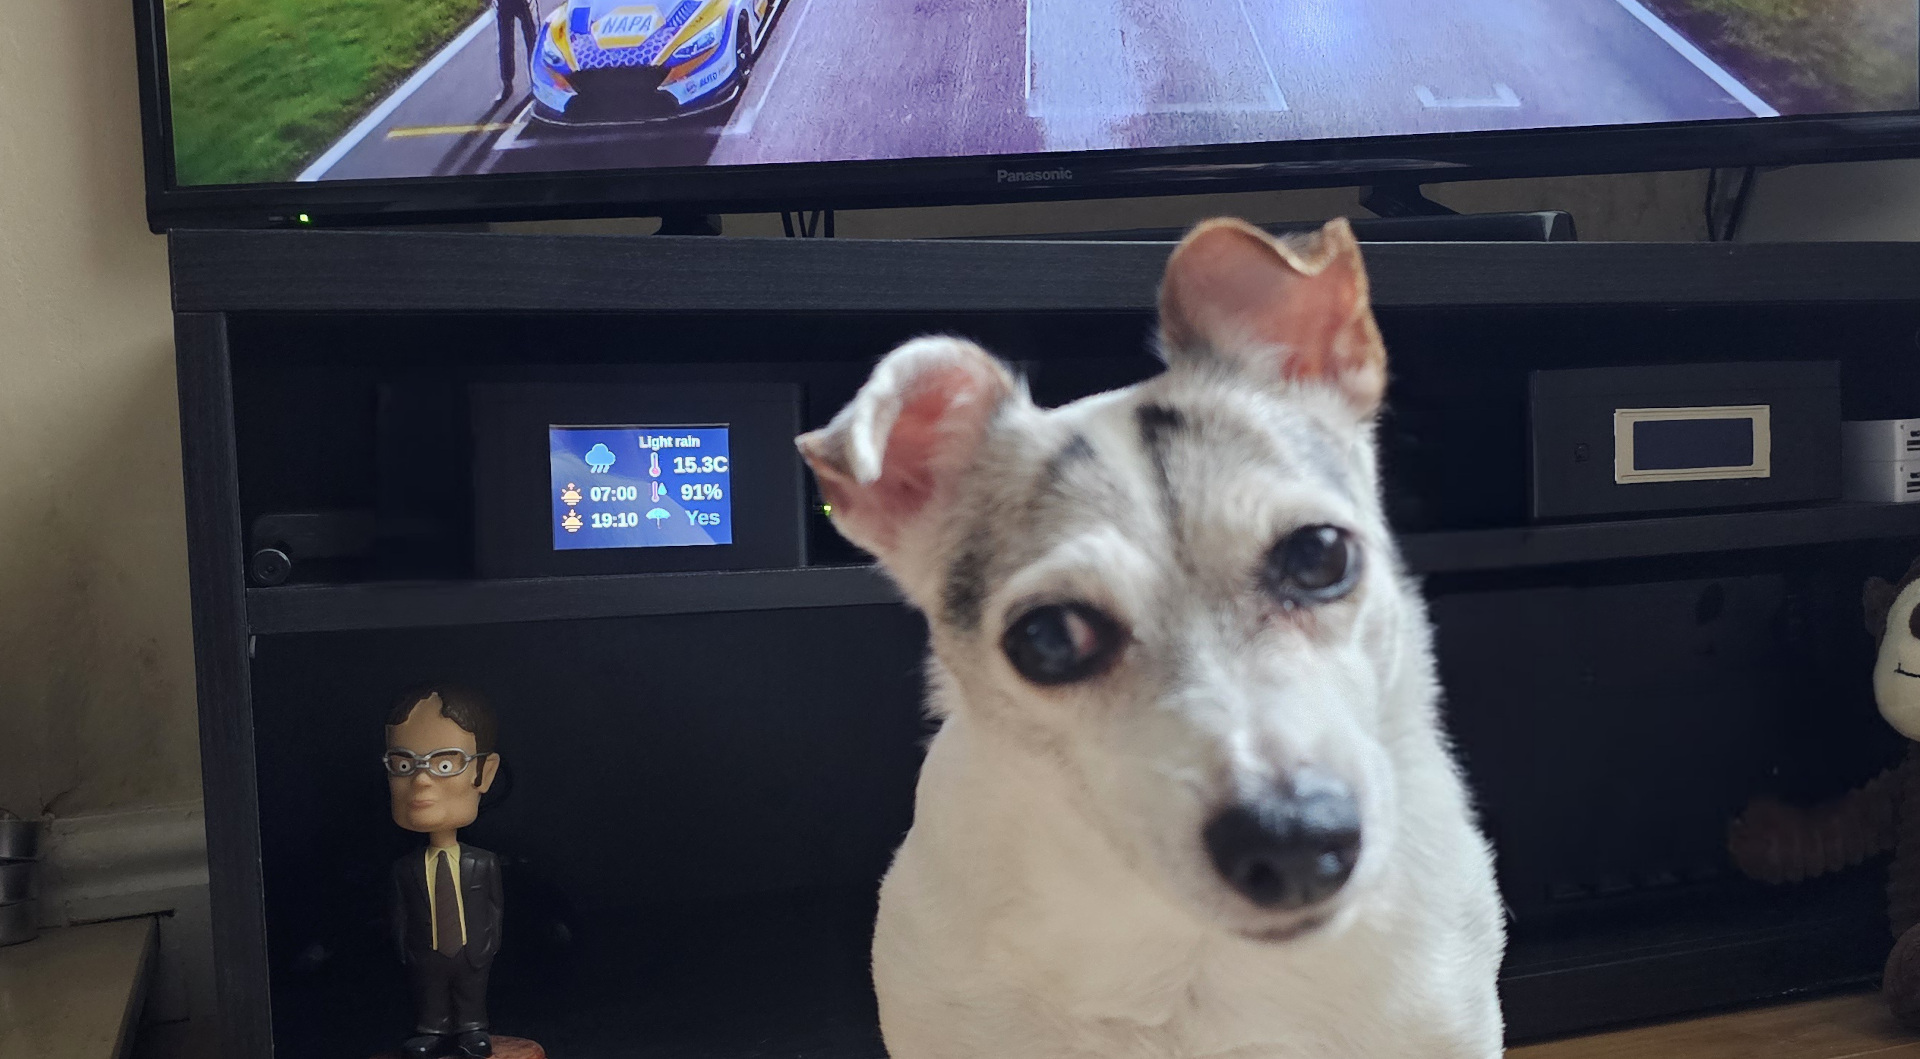
My dog prefers a walk early in the morning as the sun is dawning, so I’d like info on when dawn is along with the current weather forecast, plus very localised info on what the temperature is now and importantly, if it’s raining out.
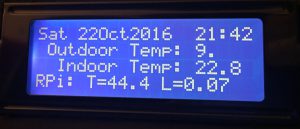
The go to choice to present this info would be a Raspberry Pi with a small display to allow a quick glance at in the morning.
The info to display on the Pi screen can be sources from a couple of sources;
An API call from a weather service (weatherbit.io) for more general sunrise, sunset and current weather.
A SDR radio picking up a nearby weather station for more localised temperature and rainfall values.
For a number of years, I’ve been using MotionEyeOS on my CCTV cameras, exclusively for the “Fast Network Camera” mode that enables RTSP for low bandwidth ingress to the MotionEye (running on CentOS) while maintaining good image quality.
Finding more uses for these Pi’s necessitates moving to Raspbian with MotionEye as the OS version is very bare bones by. Moving from the OS also means losing the Fast Network Camera and streams on the network jump from 2 Mbps to 25 Mbps.
Over multiple camera’s this really adds up, so I need a way replicate the low bandwidth, high quality streams with the versatility of Raspbian. The solution found is to install MediaMTX (formally rtsp-simple-server) …
Hopefully the mad dash for home working is over, and now
everyone who can has settled in to a comfortable home setup with new knowledge
of what a VPN and remote desktops are all about.
I thought my established home setup was great, however I
didn’t envisage words like Teams and Zoom to become the buzzwords of companies
the world over.
This posed an issue for myself. Even though my 2017 Dell XPS
has a webcam ready to go, it spends its home office days docked with the lid
closed. When opening the 4K screen combined with the Full HD monitors, Windows
implementation of scaling rears is appalling head and just looks terrible.
Combined with the Dell’s decision to locate the webcam below the screen to give
maximum nostril-cam angle, its not something I like to use.
Buying a USB webcam didn’t seem worth it for what is
(hopefully at time of writing) a temporary solution.
So in comes another Pi project, this time using a spare Raspberry Pi Camera module connected to an aptly placed Pi, that can be used on a Windows machine for the software likes of Zoom, Skype and Teams…
I like this time of year, a chance to reflect on the last 12 months and take stock of accomplishments and realise the achievements. And something I like to gauge a success on is the longevity of a solution, and a time-lapse comparison 6 months apart is seemingly my go to example.
To elaborate on this achievement, earlier this year was the setup of a homebrew CCTV solution using an array of Raspberry Pi’s with cameras, and a VM Cent OS server acting as a PVR host. A surplus Pi W Zero was pointed at the hills and used as a time-lapse experiment.
The real achievement is that since its conception in early June,
it has been stable enough to run in the background, capturing footage for such an
occasion.
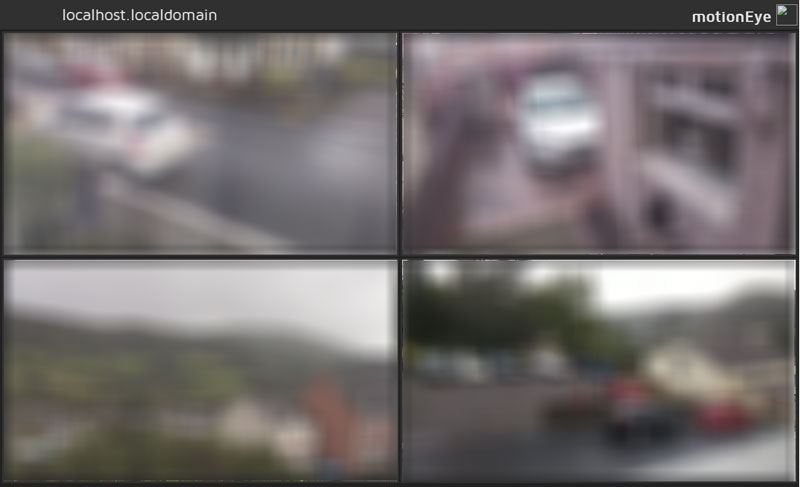
So here I present my latest time-lapse, a split screen video on the difference between a June day and a December day:
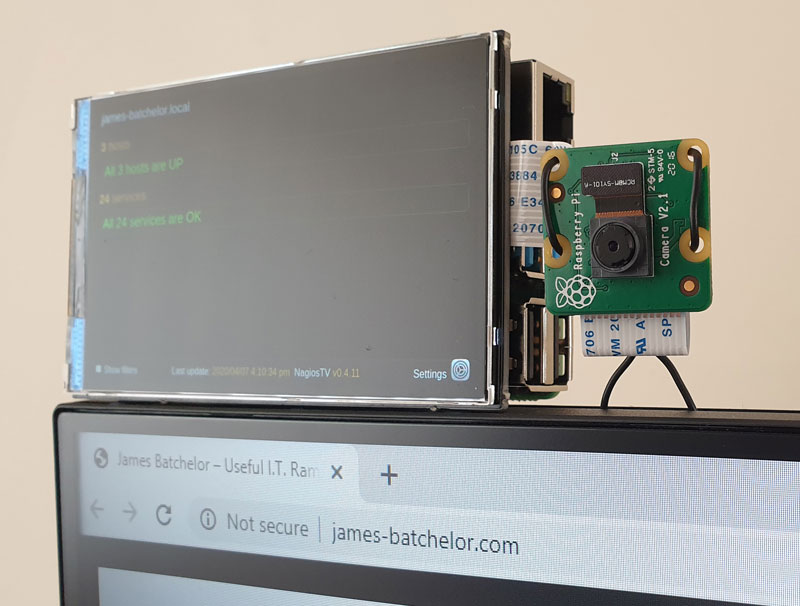
Following the setup of a Cent OS CCTV server, I’ve been using Raspberry Pi’s as video sources. But what if there was a Raspberry Pi in perfect situ for a CCTV camera, but was already in use as a media player?
A Linux system has always had the impression that it is
versatile, so this should be an achievable task. A barrier would be how to get
this done with the operating system installed, in this case it is LibreElec, an
OS with the tagline “Just enough OS for Kodi”. Therefore, it would be more of a
challenge than a usual Debian install.
The team at LibreElec saw this type of thing coming, and included the Docker service as a Kodi addon to allow the curious tinkerer to add more than Kodi to a Pi.
If you have the LibreElec based Pi in the opportune
placement to add a camera, here is how to add Mjpeg streaming capabilities…
If you’d ever searched for Raspberry Pi projects that
involved a camera then the results would certainly include Motioneye OS, an
easy to use self-contained operating system that is truly (write then) plug and
play.
Looking for a CCTV project earlier this year I too was drawn in by this, and with my small abundance of RPi spares it was the cheapest choice, using a couple of RPi 3B+ for video, and a Zero W for time-lapse image capture. All processing was self-contained on each Pi with capture data passed over via SMB to a Windows file share.
This worked, but had a couple of problems that prevented it
from being trustworthy. Firstly, it stops recording video after a few days of
uptime, by creating empty files. And secondly the time-lapse camera seemed to
reset every few minutes that created in white out image capture as the camera’s
exposure setting recalibrated, ruining a time-lapse video.
Looking wider there was also the performance issue. In
Motioneye OS’ default state of managing all features, the highest FPS seemed to
max at 15 fps even on the Pi 3B+. Forums suggest this is due to the motion eye
daemon handling all the image processing in software, putting a strain on the Pi’s
modest CPU.
The idea and goal is to move the processing and IO
responsibilities to my server, which would be far more capable than the then
latest available RPi, and as I have chosen Cent OS to be my go-to Linux OS of
choice, this is what I’ll be using.
A gateway to make this possible is an option in Motioneye OS, Fast Network Camera. This when set relinquishes the Pi of all processing duties and serves to just stream the camera capture as best as possible via MJPEG.
Here’s how to set up Motioneye on a Cent OS server to be a central data hub for a network of RPi Motioneye OS cameras.
For years, since it was XBMC on the original Pi I have been using OSMC as my Raspberry Pi media player. And following on from a whole home Pi redeployment for to include a CCTV system the latest installment was to install OSMC to two Raspberry Pi 3A+.
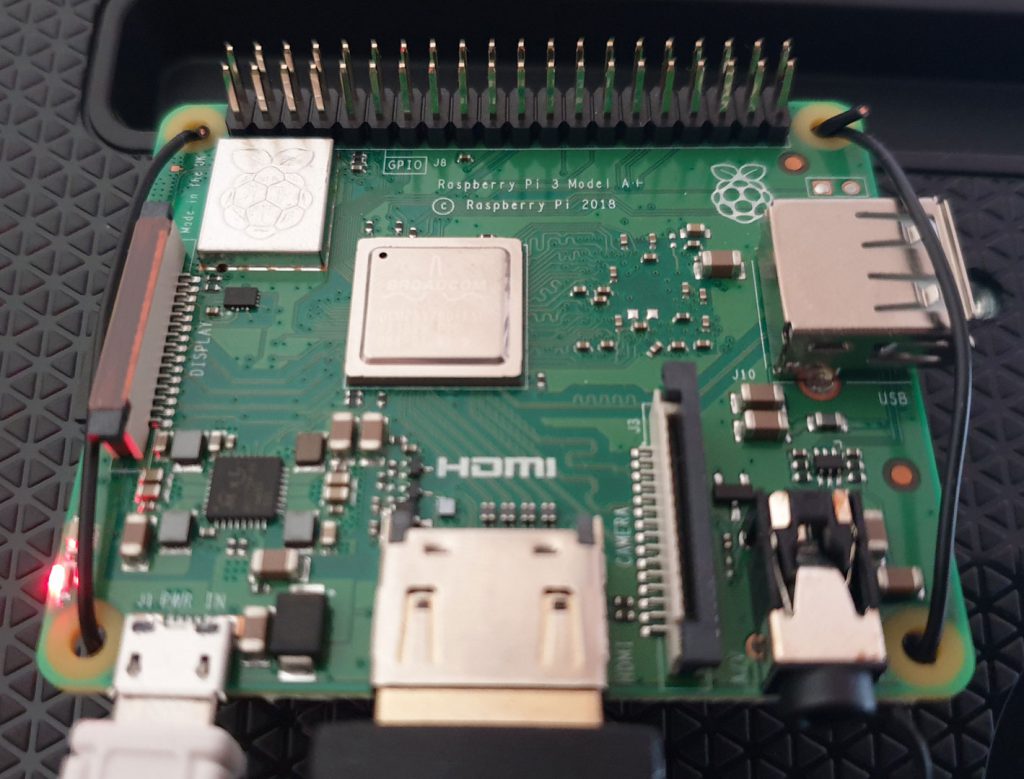
Raspberry Pi 3A+
The Pi 3A+ plus is the cut down little brother to the latest
3B+ much akin to the original Pi B and A models. Both have the same quad-core ARM
v8 processor, Broadcom Videocore-IV GPU and importantly the 2.4GHz and 5GHz
802.11b/g/n/ac Wi-Fi module for faster and stable WIFI out of the box. What’s cut
down is the RAM, halved at 512MB, USB ports are reduced to one due to the removal
of the onboard USB and gone is the ethernet port.
All the power without the ports make its perfect as a media player,
all that’s needed to connect is the HDMI, with remote control provided via a CEC
equipped TV.
The issue with OSMC
Here are the issues I experienced with OSMC on the Pi3A+,
this is in no way a snarl at the developers who are doing an amazing job. I
believe the 3 A+ is still a new and niche model so it’s understandable that development
is slow for this product. I’m just hoping this will eventually be looked into and
resolved, and putting it out there in case others have the same issue. Performance
on the 3B+ is still exceptional.
From boot, selecting a 720p file (via Samba and h264 encoding)
is fine, with subsequent auto-play files playing with no issues. However, with the
next selection the issues start, selecting a file loads it but doesn’t play, having
to go to the main menu and selecting Full-Screen to play the file. But then it buffers
constantly. On the third play this workaround fails, and selecting Full-Screen results
in a black screen.
In addition, even from boot any 1080p content fails to play with
a black screen in its place, and playing h265 encoded files results in an
immediate system crash.
480p content remains unaffected and plays perfectly.
LibreELEC to the rescue
Without resorting to buying a 3 B+, your media experience can still be made on 3 A+ by using LibreELEC, an alternative to OSMC that has the same goal of getting Kodi on the Raspberry Pi.
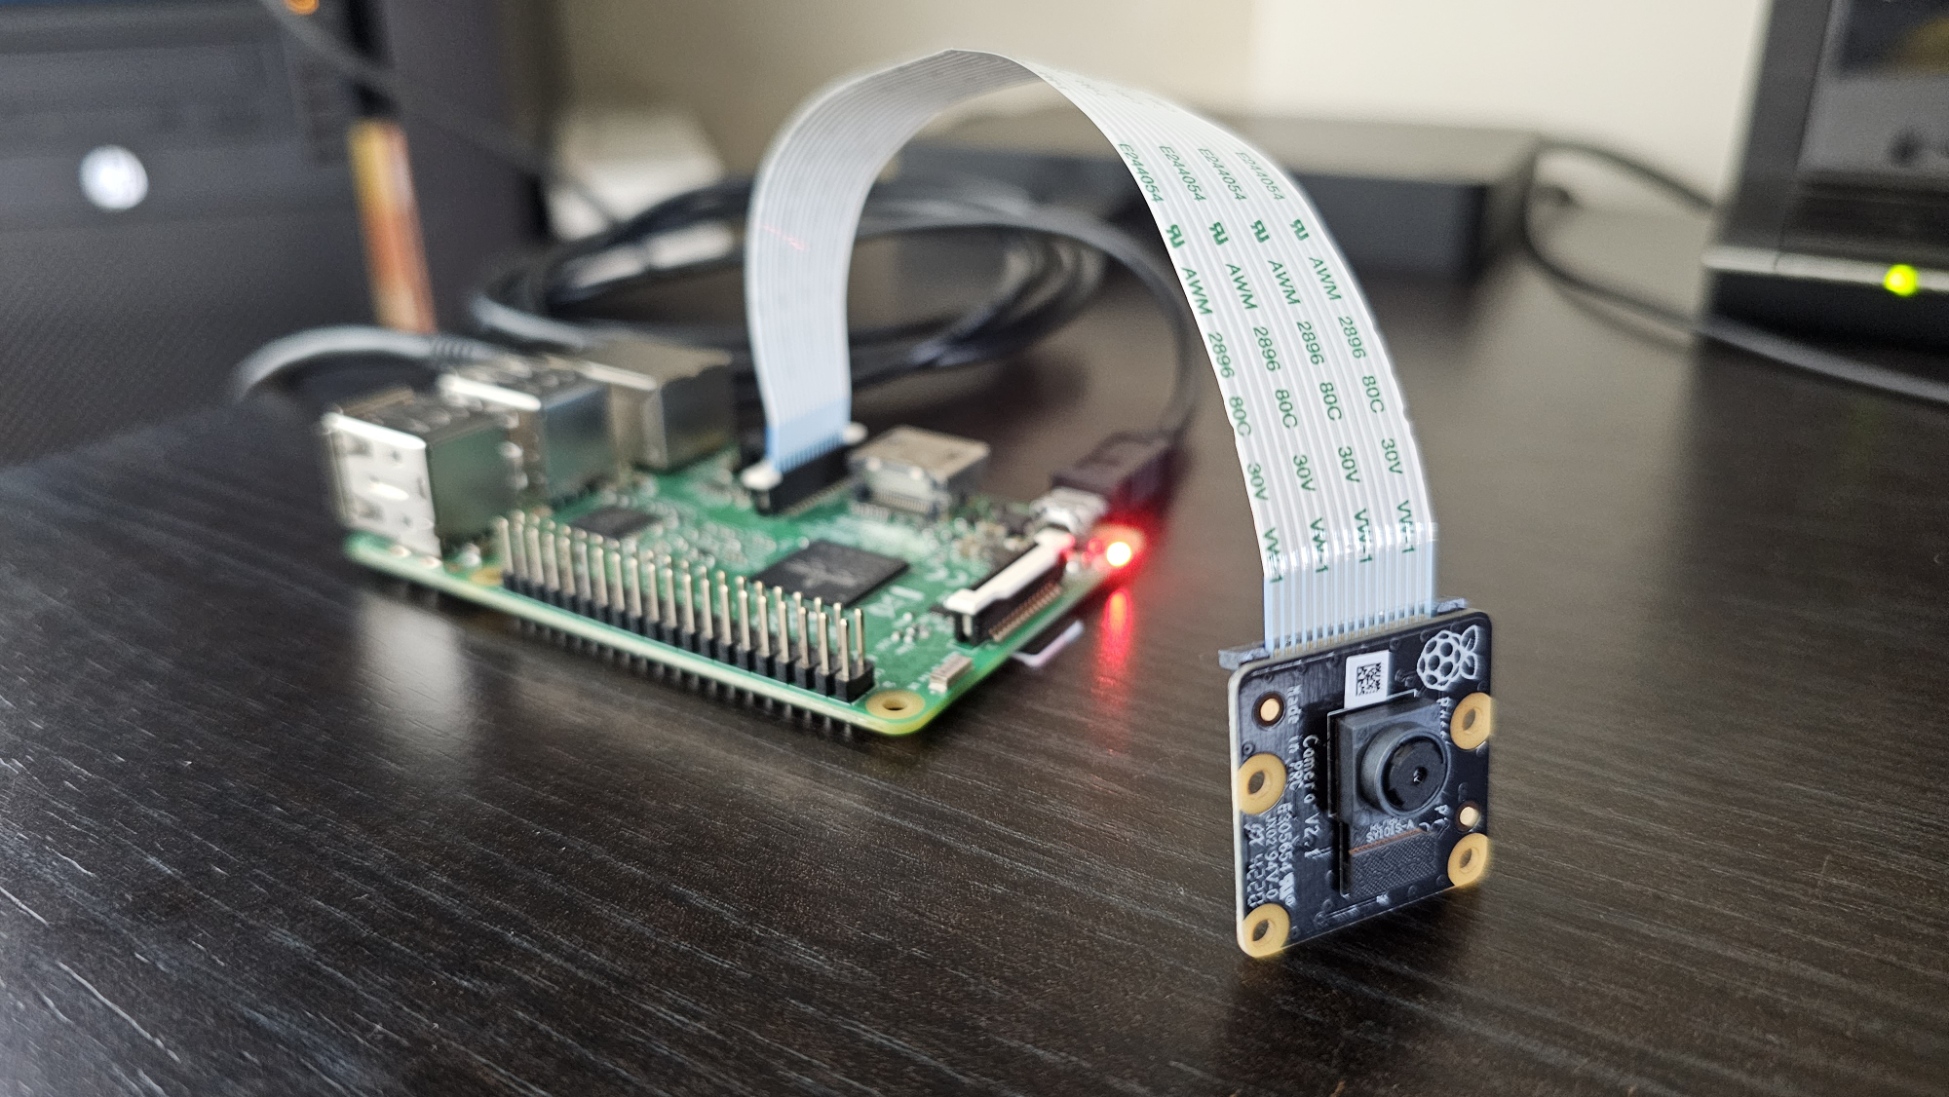
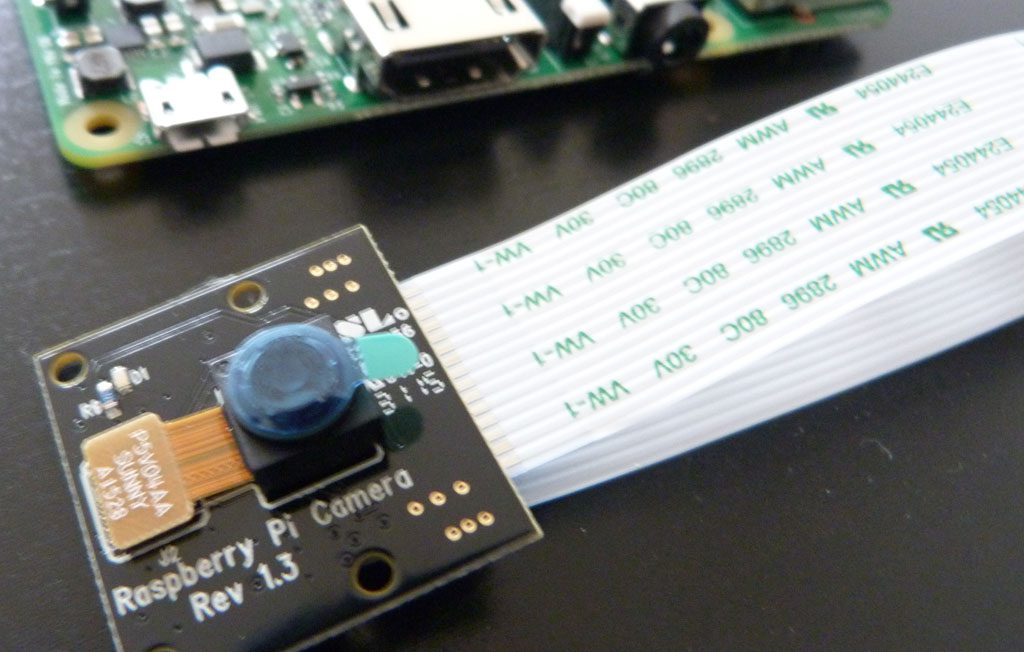
A little treat when ordering the latest Raspberry Pi was to add a camera module to it, at a price of £7 for the Noir (Not French, just meaning No Infrared filter) it was easy to justify getting even if there was not a set purpose to it.
For the price the Pi Noir camera was generous on the specs, with a 2592 x 1944, 5 Megapixel sensor it seemed capable of capturing high detail images. However, the 5Mp tagline applies to still images only, with video capped at a still respectful 1920 x 1080p.
The difference between the Noir and standard camera module is the lack of an IR filter on the lens, resulting in some washed out colours in daylight but still acceptable in a surveillance capacity, but has the ability to capture images in darkness with help of separate Infrared lighting.
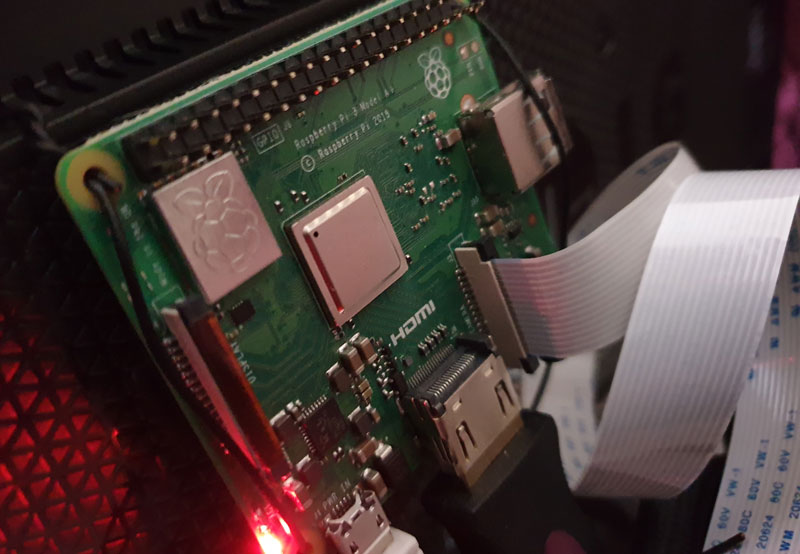
Using the camera module on the Pi is pretty straight forward, connecting is done via a ribbon cable plugged into a dedicated port on the Pi board.
With the cooler outdoor temperatures, a bug in my original code for the temperature display has cropped up:
The DS18B20 returns temperatures with up to three decimal places, with the decimal point omitted, therefore a temperature of 10oC would be shown as 10000 by the sensor. To deal with this and for the display to show the temp to one decimal, I used this code: