About fifteen years ago I did Electronics as a course in college, and at the time my younger self didn’t fall in love with the topic, set down to a culmination of issues.
Now with time at hand and a rejuvenation I felt when getting to grips with the Raspberry Pi I thought it time to get involved again. I must stress that this time these are baby steps, and the Raspberry Pi helps me as it does most of the work for you, with any electronics added considered to be more of a peripheral rather than a self-sustained product.
Nothing grand to start with, but as a first project I thought to combine a 20×4 LCD display with two DS18B20 temperature sensors to monitor indoor and outdoor temperatures. This would replace a cheap display I had been using but was sceptical on its accuracy.
Getting the basics right involved making the device blend in to the current setup without the usual mass of wires protrude. From the last round of the seam ably endless cable management war I used a shoebox base as a stand for the webserver and network switch, with the box hiding the various power bricks and extra cable, with most coming from the Xbox 360. Still having the shoebox lid I thought it would be good to use as a modular part to house the Pi and display.
As requested, this is a guide to taking a Raspberry Pi and turning it into an always on Torrent box, complete and self-sufficient with its own mass storage meaning it needs no help from other computers. Also, as the Pi consumes such little power compared to a full desktop PC, money can be saved by using the Pi for overnight transfers while other computers can remain off.
For this project I recommend a RPi 2, as its powerful enough to perform the transfers up to its maximum 100Mbps network speed, and is a cheaper choice since the RPi 3 superseded it last year. To get started, you need the following hardware:
Raspberry Pi 2 board.
Micro USB wall adaptor – Needs to be capable of 2Amp output.
Micro SD card – Minimum of 8GB, class 6 or above, plus SD adaptor for connecting to a PC.
USB Portable Hard drive – USB powered is preferred, I use a Toshiba Canvio Basics 1TB.
Ethernet Cable – And spare port on the modem/router for internet connection.
A PC – On the same network as the Pi for connection and configuring.
The Pi was designed to as low cost as possible to the user, so apart from the Pi board you may already have everything to run a Pi, and if not these are cheap and easily available online.
During my migration from Windows Server 2003 to Server 2012, I encountered an issue with Kodi on Raspberry Pi and how it connects to the Win 2012 file share. When accessing the server with a Samba file share instead of a prompt for credentials the error message “Operation not permitted” is displayed.
Kodi allows the manual adding of network locations but does not support adding the credentials that are needed to access the location.
Therefore a bit of tweaking is needed to get access to Windows 2012 shares on Kodi.
A great feature of the Raspberry Pi is that it can be fully used as a headless unit, meaning it does not need a monitor, keyboard or any other input device connected. This is great when running it as a server or for automated processes that require the unit to be tucked away.
What is annoying is that setting up the Pi for the first time may need those input devices to be able to configure the network and install applications. Thankfully there is a way to connect to a headless Pi from the start, with it only needing power and Ethernet connection.
The arrival of the Raspberry Pi 2 meant the B+ previously used as a server was now ready for a new purpose. These little machines make great media players and is easy to setup so this would be its new role.
However, this Pi would be in my parents’ home, and miles away from where my videos are stored. I didn’t want to add a hard drive locally as syncing the library would be an issue. But thanks to the fibre internet connection on the server side I could upload at 10Mbps, enough to stream media across the net.
Therefore, the plan is to use an install of OSMC and add a VPN connection to my home server that starts when the Pi starts to make the operation seamless.
The Raspberry Pi Foundation has brought a new model of the Pi to the table, so with the same low price it was easy to add to my Pi family.
For those not yet familiar with the RPi 2, it keeps the small and simple form factor of its predecessors, but gives performance upgrades in the form of an 800mhz quad core processor, with overclocking options still available, and combined it with a whole Gigabyte of RAM. These upgrades, on paper at least sound that it could make the Pi into a useable desktop machine, with less freezing during full CPU load that was easy to achieve previously.
Just a quick one, I think I have just worked out why I have a fascination with the Raspberry Pi.
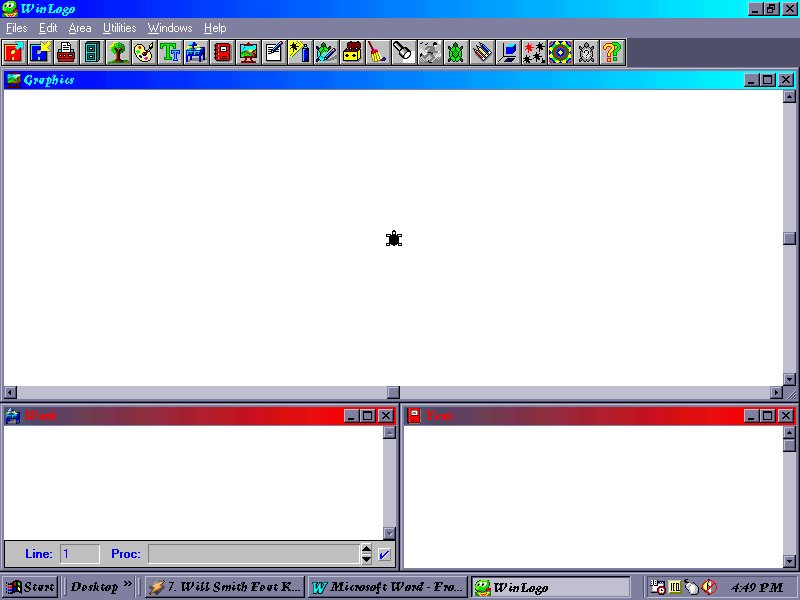
When studying GCSE IT at school, the first chance for me to use a computer at school, the first programming centric software used was Winlogo. A simple drawing application that used code to manipulate a turtle (yes, I kid you not) to create vector shapes on a screen. Basically an overly complicated version of paint.
Screenshot of Winlogo on my first PC, I take full responsibility for the Windows theme and choice of music.
With my troubleshooting exhausted, I turned to the Raspberry Pi forums in hope of some new ideas on how to fix it.
I was not disappointed. I quickly got answers pointing towards RF issues around the HDMI cable or grounding of the Pi/TV.
Ferrite clips along the HDMI and power cables failed, and initially grounding failed due to the fact I was using the whole 10 metres of cable I purchased to ground the Pi. Thinking this may be causing a lot of resistance for the low current used, I shortened it to around 50cm and…
Hooorah!
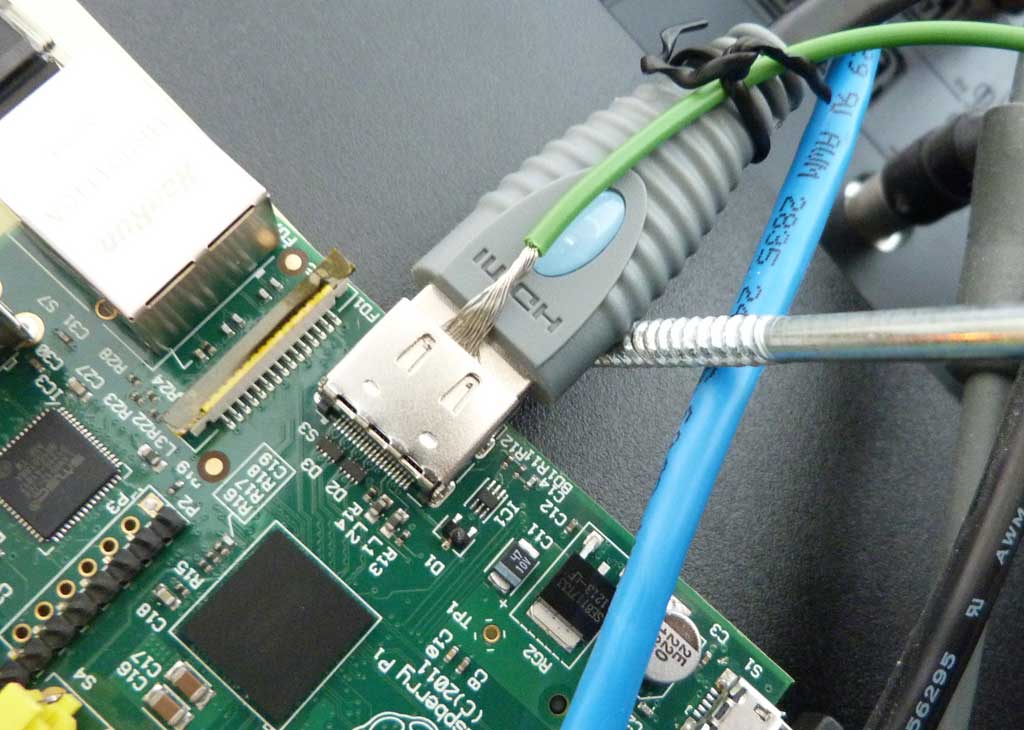
DIY solution to ground the RPi.
The Raspberry Pi and my internet working in close proximity and perfect harmony. The solution is to attach one end of a short wire to the HDMI port of the Pi, and the other end is attached to the ground pin of a standard socket plug.
This has been an expensive problem for me, 2 HDMI cables, a shielded RJ11 cable for the ADSL connection and a bunch of ferrite clips/rings when all I needed was a £2.39 piece of wire from Maplin. At least one benefit of this expense is the increased broadband speed, provided by the shielded RJ11 cable, taking my connection from 2.5Mbps to 3.2Mbps.
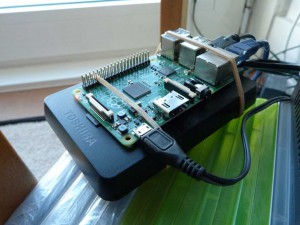
Its all working now, taking its place tucked behind the TV and providing me with a great media player solution, the abilility to control XBMC with my Bravia TV remote is an excellent feature.
My forum thread on the RPi forums can be found here.
In my last post I was a confussled mess, failing to get my head around how a network device (The Raspberry Pi) could cripple an exclusive function of my router.
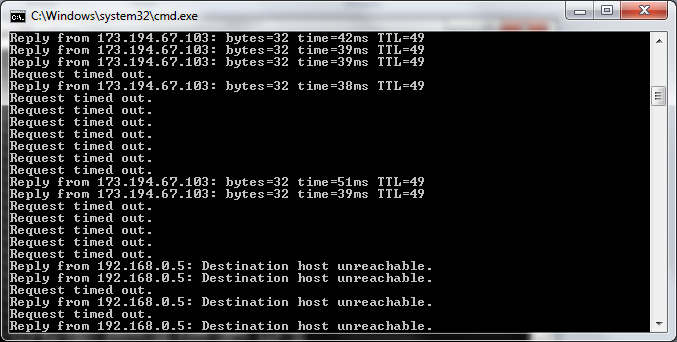
I decided to troubleshoot the issue further, I set up a basic ping to help me pinpoint when the internet was going down
Ping results before Pi was switched on.
After performing some basic troubleshooting, it transpired that the fault was happening whenever the HDMI cable was connected to the Pi and my Television (Sony Bravia EX4-32).
Ping results after HDMI cable connected.
Thinking it was a bad HDMI cable, I bought another, but to no avail. My next brainwave was that the Pi was emitting EMI (or RFI) which drove me to buy a 10 metre HDMI cable to get the Pi as far away from my router and other networking equipment, alas this didn’t work either.
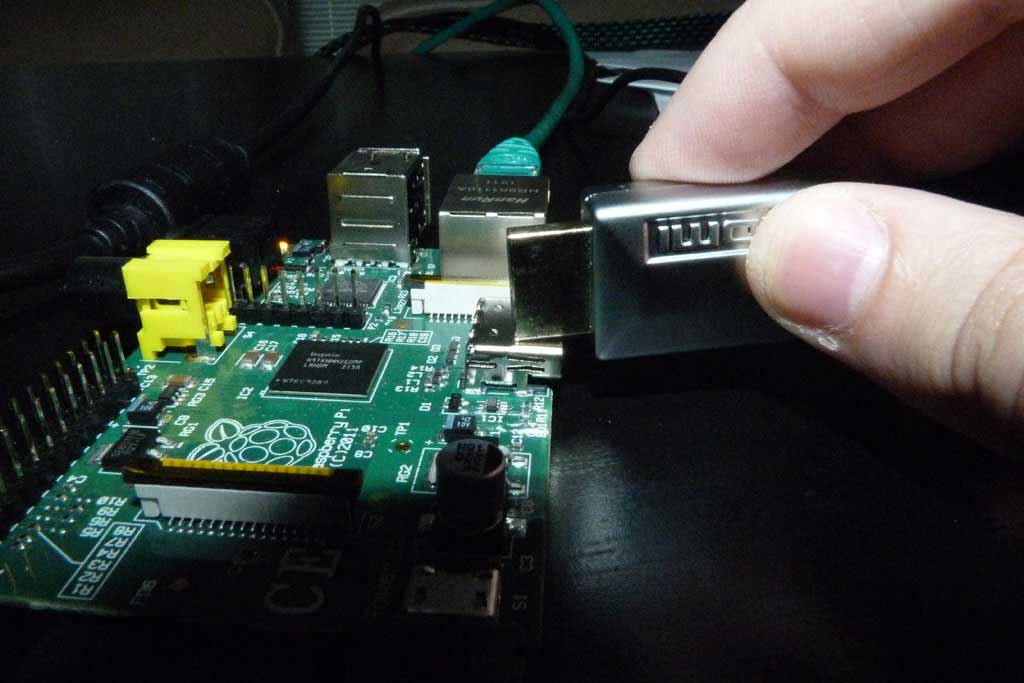
Troubleshooting further, it turned out that the HDMI cable didn’t need to be properly connected, mealy touching the Pi on any metallic part will cause the internet to cease.
All it takes to knock me offline.
So in essence I am still no closer to solving my Pi/Internet mystery, if you can help me please comment!
All other HDMI works fine as I am now using the 10m HDMI cable as a screen extender on my laptop.
Bootnote:
In my previous post I signed off by stating that that the Pi and my internet were working in harmony. However it turned out that my modem had dialled back my downstream internet speed to 1.5Mbps instead of the usual 3Mbps, normally a result of the modem trying to obtain a more stable internet connection due to, lets say, interference on the line!